Deploying Shiny for Python App as an AWS Web Application
Overview
This guide will take you step by step into deploying your Shiny for Python Application into an AWS EC2 instance.
Throughout the guide, there will be screenshots that may be difficult to see. Just click on the images to view the text contained in them more clearly.
The guide assumes that you have a working Shiny Application able to run on a local enviornment. If this is not the case, make sure you test your application ahead of deployment to make sure that it works.
It is recommended that you upload your Shiny Application to Github (or any other remote repository) so that it is easier copying files from your local machine to AWS servers.
It is also recommended that you have a
requirements.txtfile from your local python virtual environment to make downloading dependecies on the server easier.
Setup an AWS Account
This won’t be covered in this document but you can find plenty of videos or articles of going through the steps of registering for AWS. New accounts should have access to some free credits on EC2 so this should cost nothing or very little depending on how long you plan to keep the server up.
Start an EC2 Instance
EC2 is Amazon Web Service’s general compute server service. We can use an EC2 instance as a way to run a web server, run our machine learning model, display visualization, and store files all in one place. While AWS offers many other services that specialize in some aspects of these areas, EC2 is a hassle free way to run a working prototype.
Note that the layout and placement of buttons on the AWS websites can change drastically at a later time from publishing, but most principles should stay consistent.
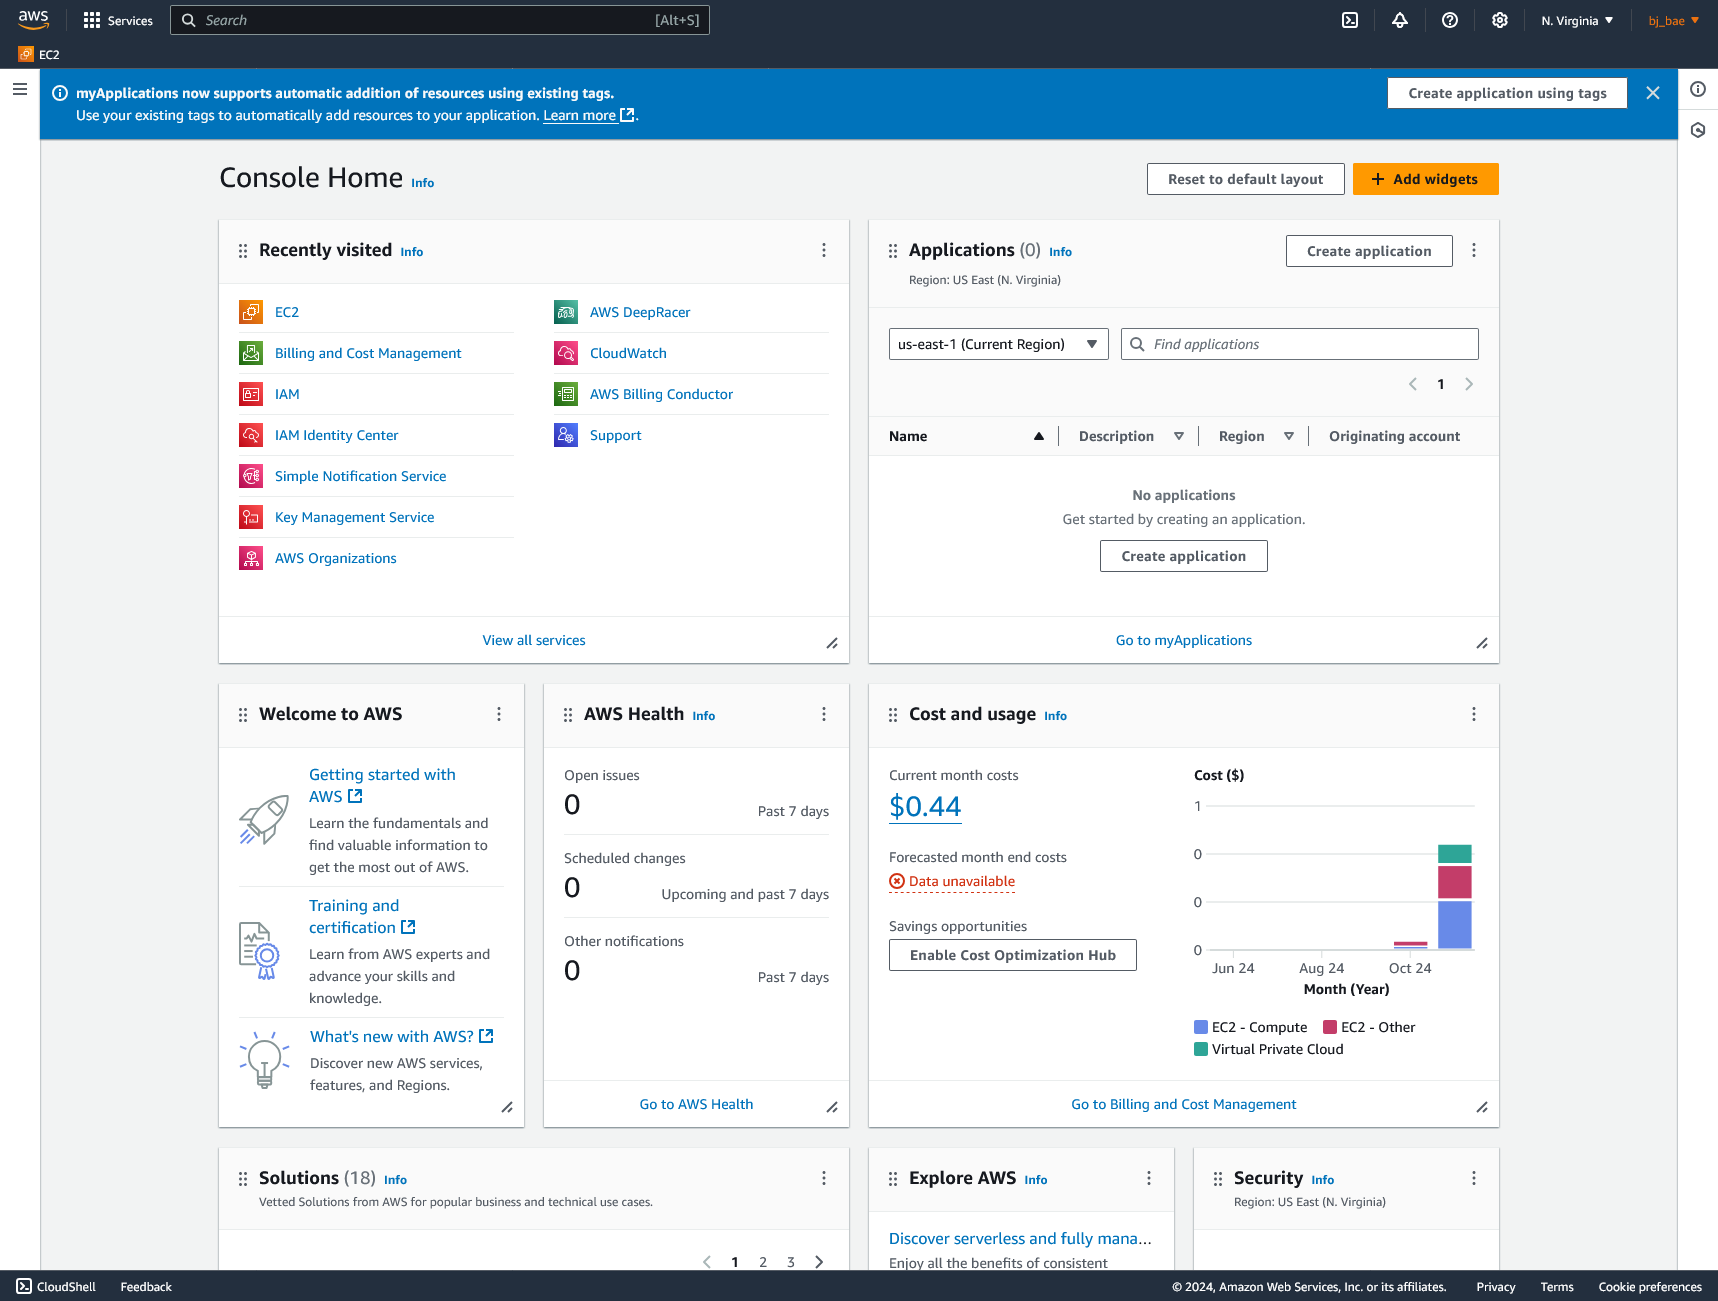
When you enter your AWS dashboard it should look like this:
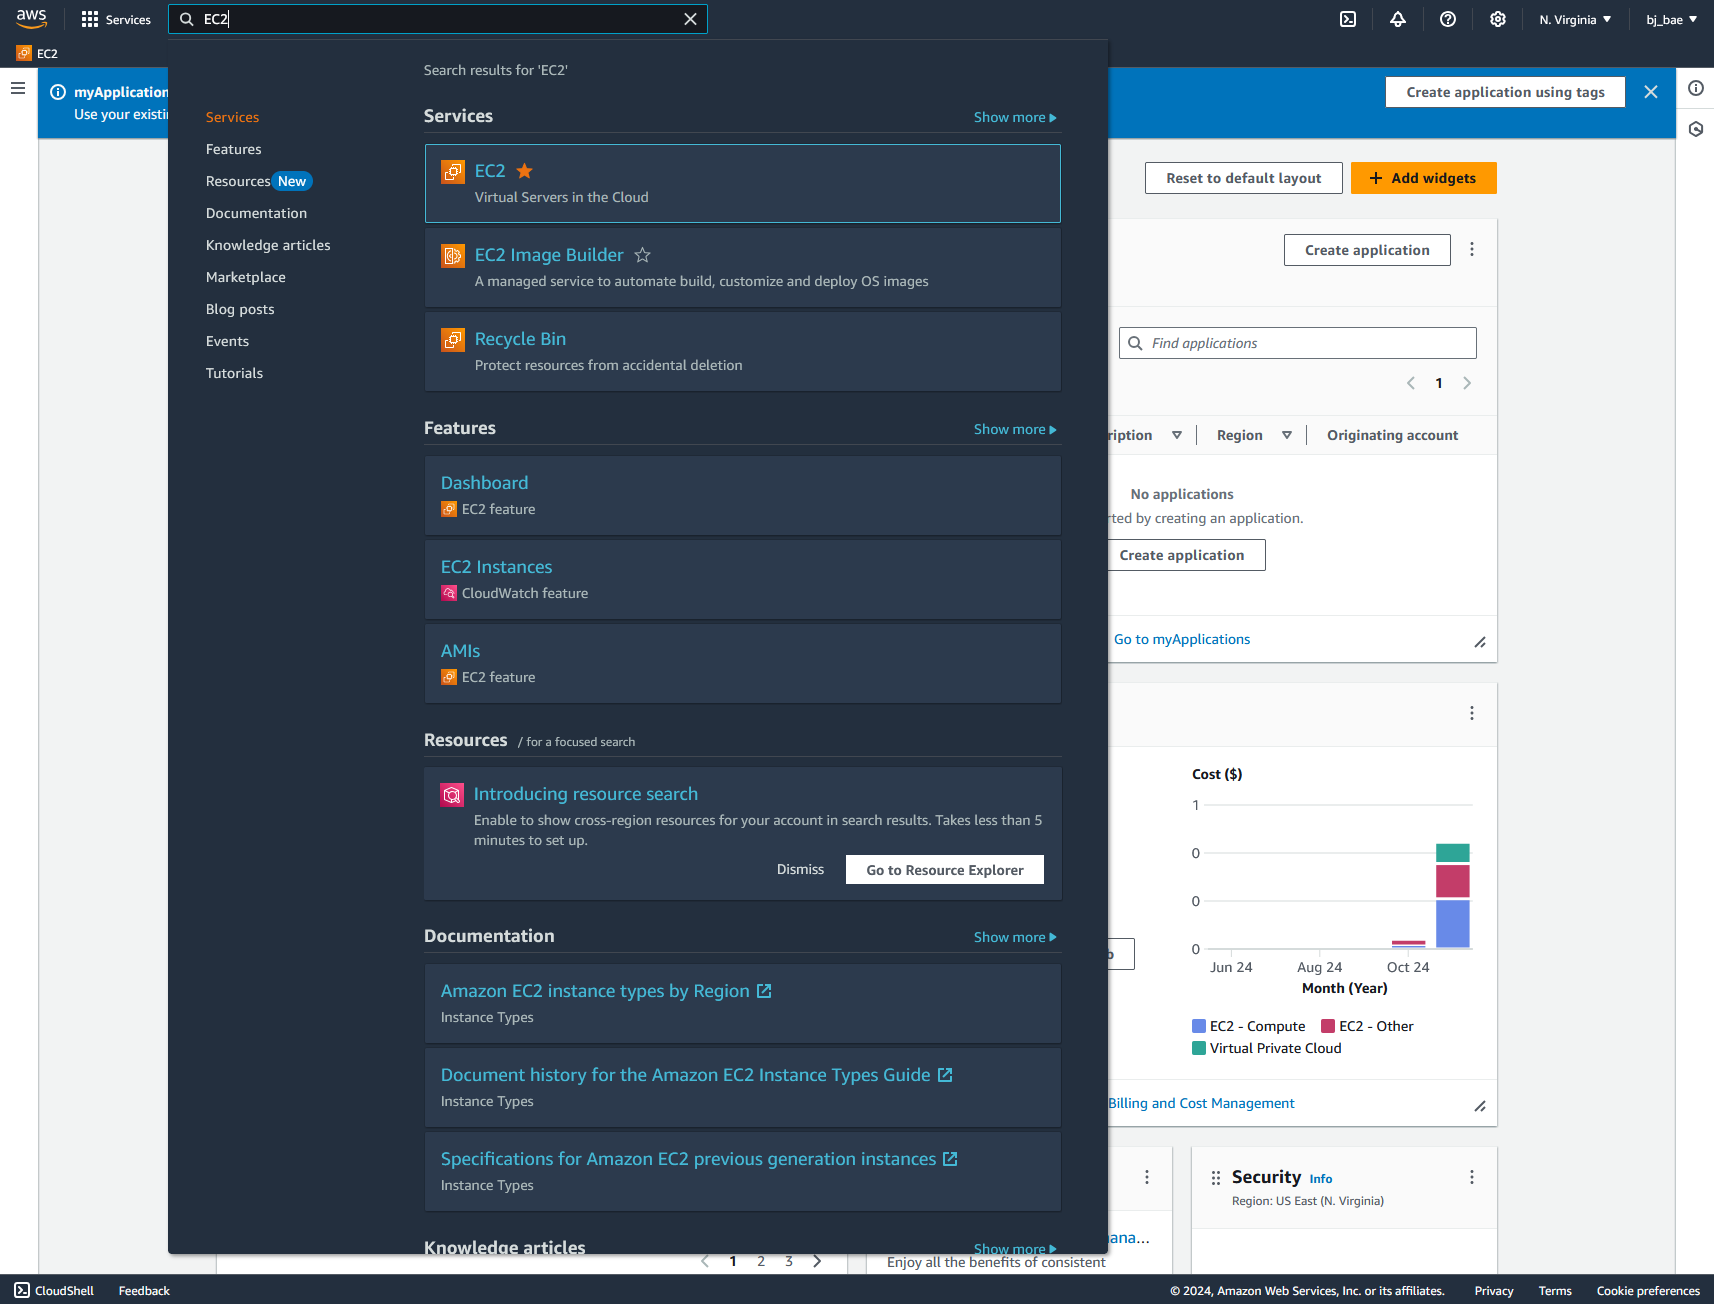
To start an EC2 instance, search for “EC2” in the search bar of the dashboard and you should see these options
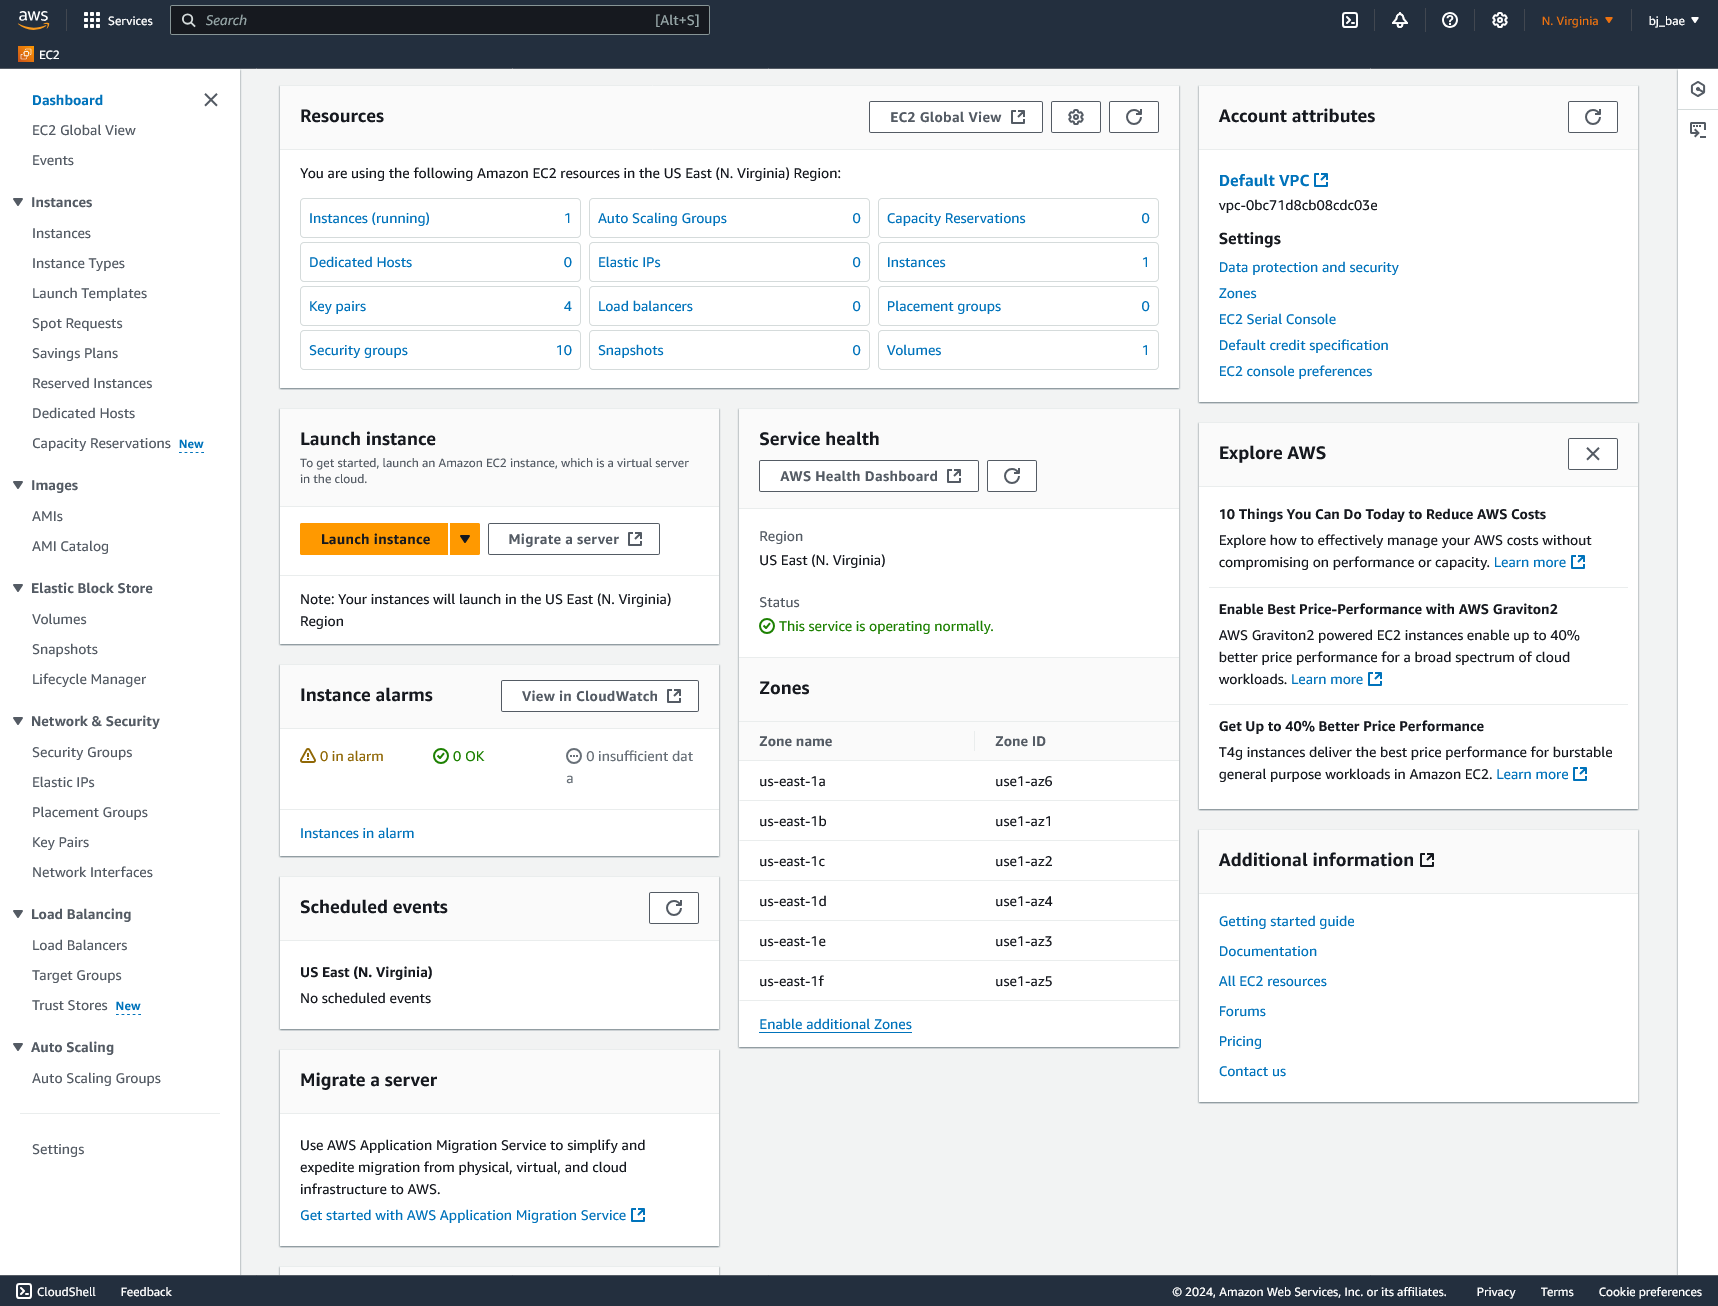
Click on EC2 under Services and it should bring you into the EC2 Dashboard. Here we can launch instances of our servers. To do ths click on the bright orange button that says “Launch instance”
It brings you to a page where you can set up settings needed to launch an instance.
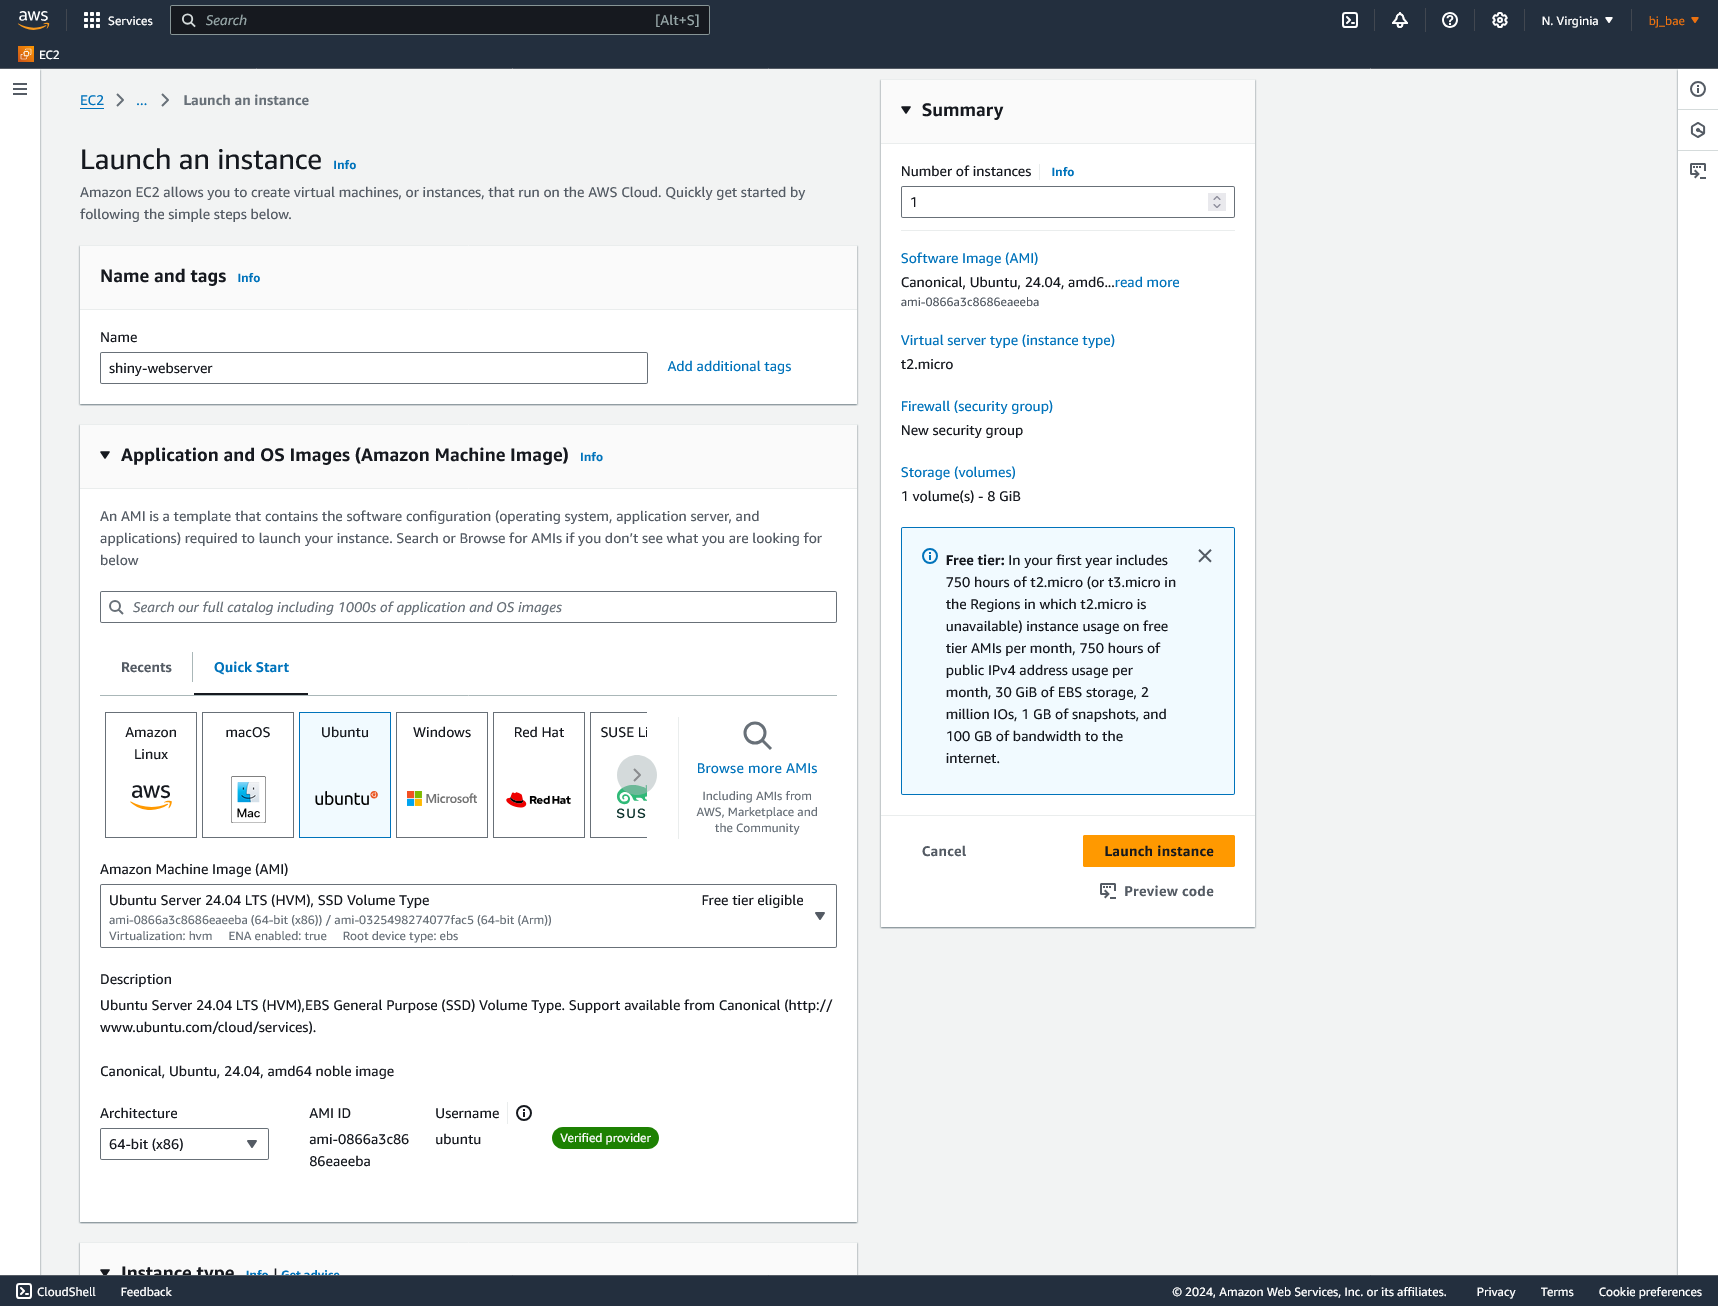
The first step is to name your instance. Here we will name ours shiny-webserver but this can be whatever you would like.
We will also select Ubuntu under Application and OS Images. You can use any major linux distribution (Red Hat/CentOS, Ubuntu, openSUSE) that is compatible with Shiny Server but since Ubuntu has a large community around it, this will be our choice.
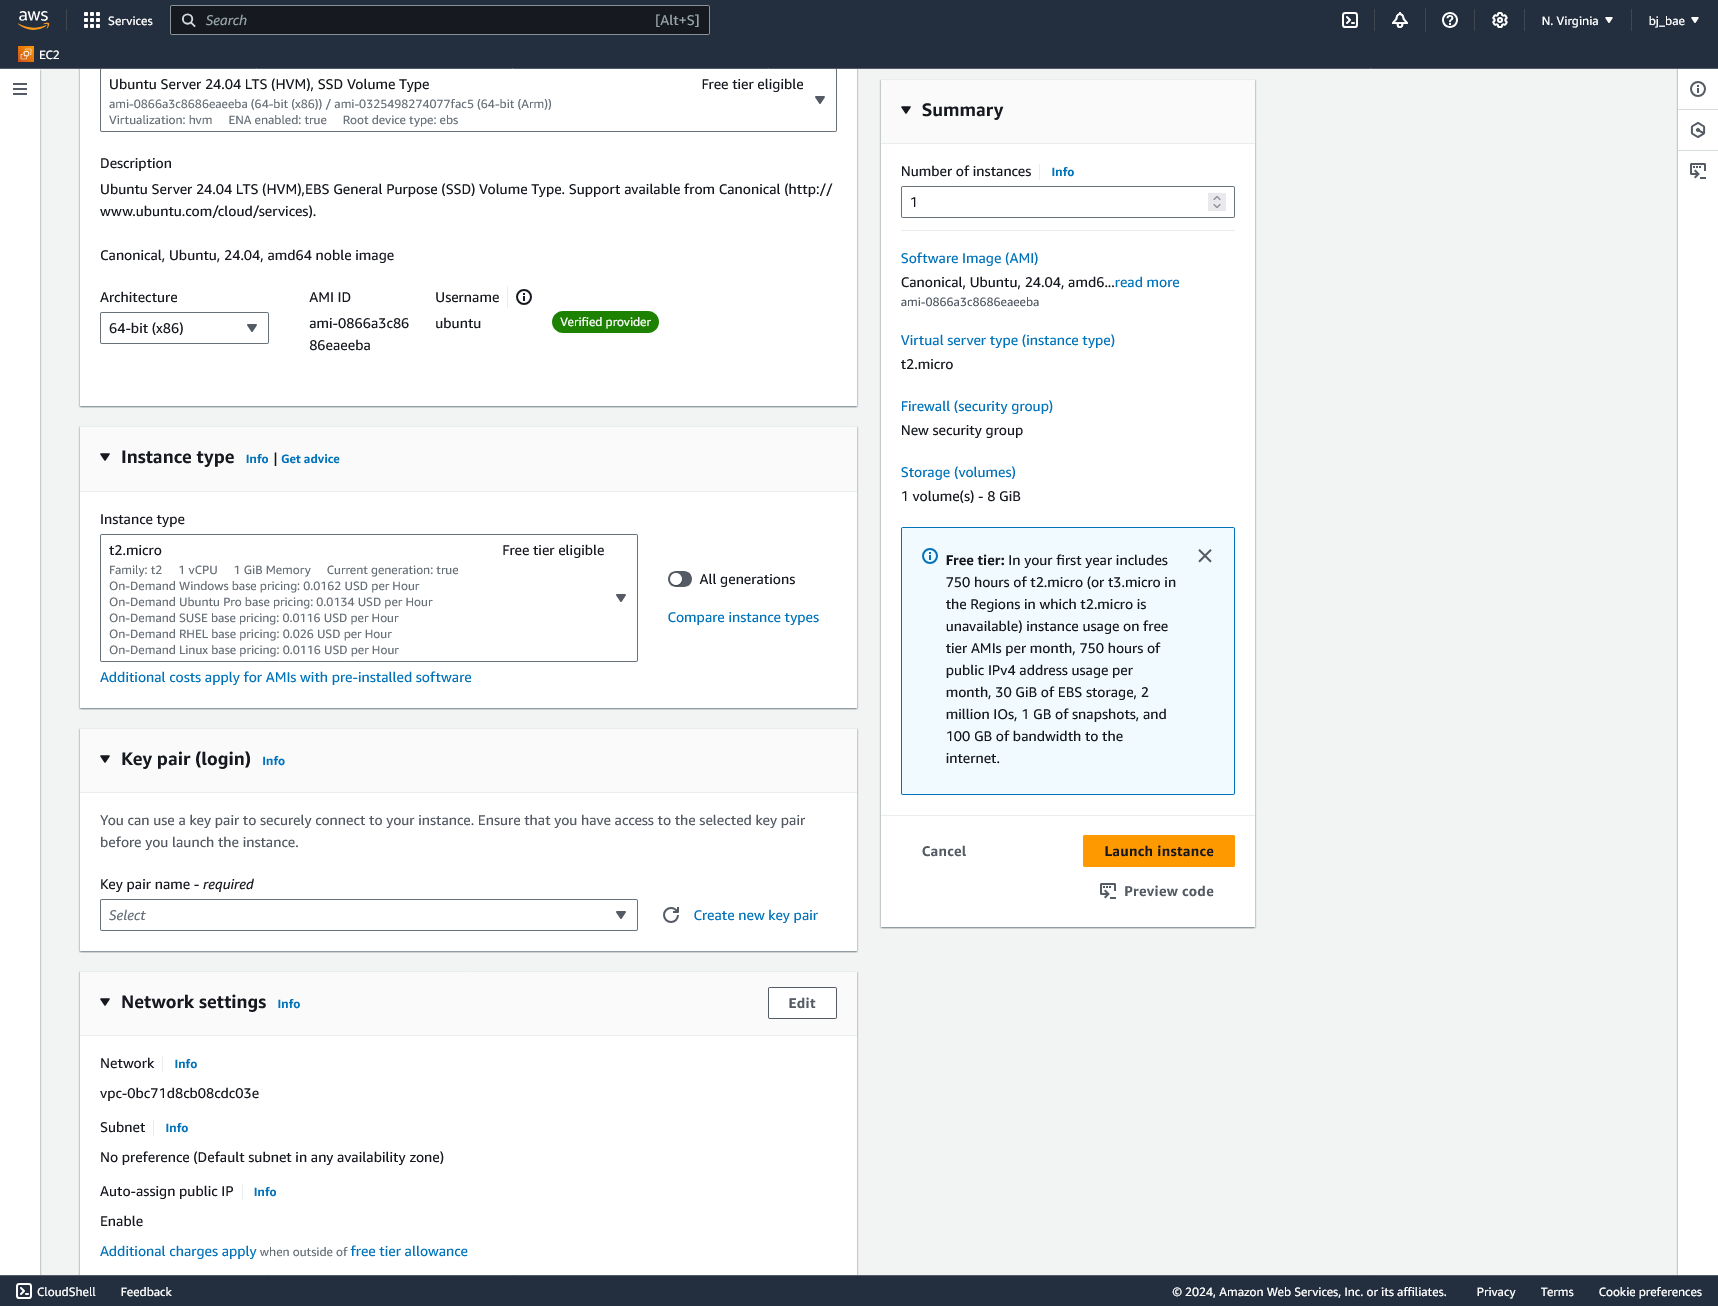
Next we will keep our instance type as the default option t2.micro, but depending on your use case you can change how powerful you would like the server you launch to be. Since t2.micro has a free tier eligible, we will just keep that as is
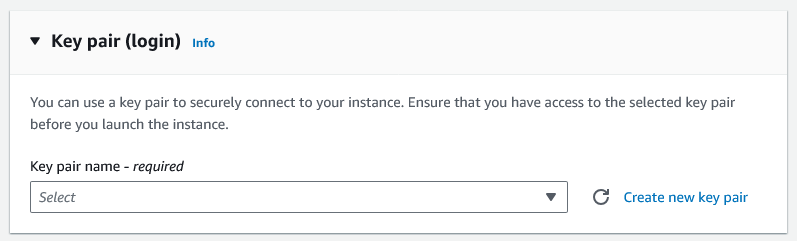
Key pair is a way to log into our server without needing a password, but using a file to authenticate instead. This is required so we will set up a key pair login. Click on Create new key pair
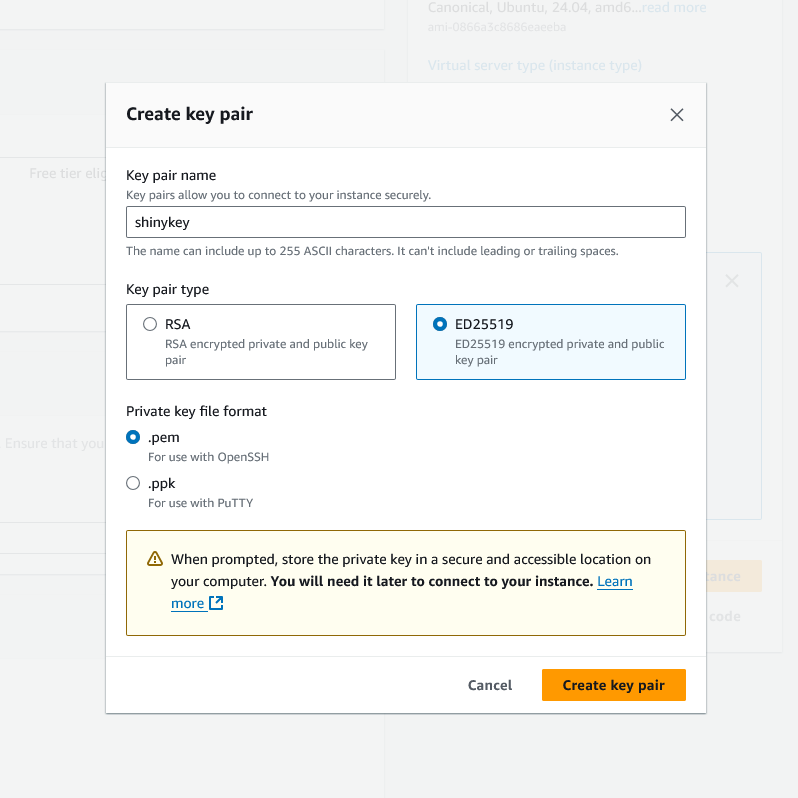
We will name our key pair shinykey, set the key pair type to ED25519 (optional), and keep it as the default .pem file format.
Click Create key pair and it should be downloaded from your browser.
Move it into a safe folder that you will remember later. We will need to know where this key file is to log into our server later.
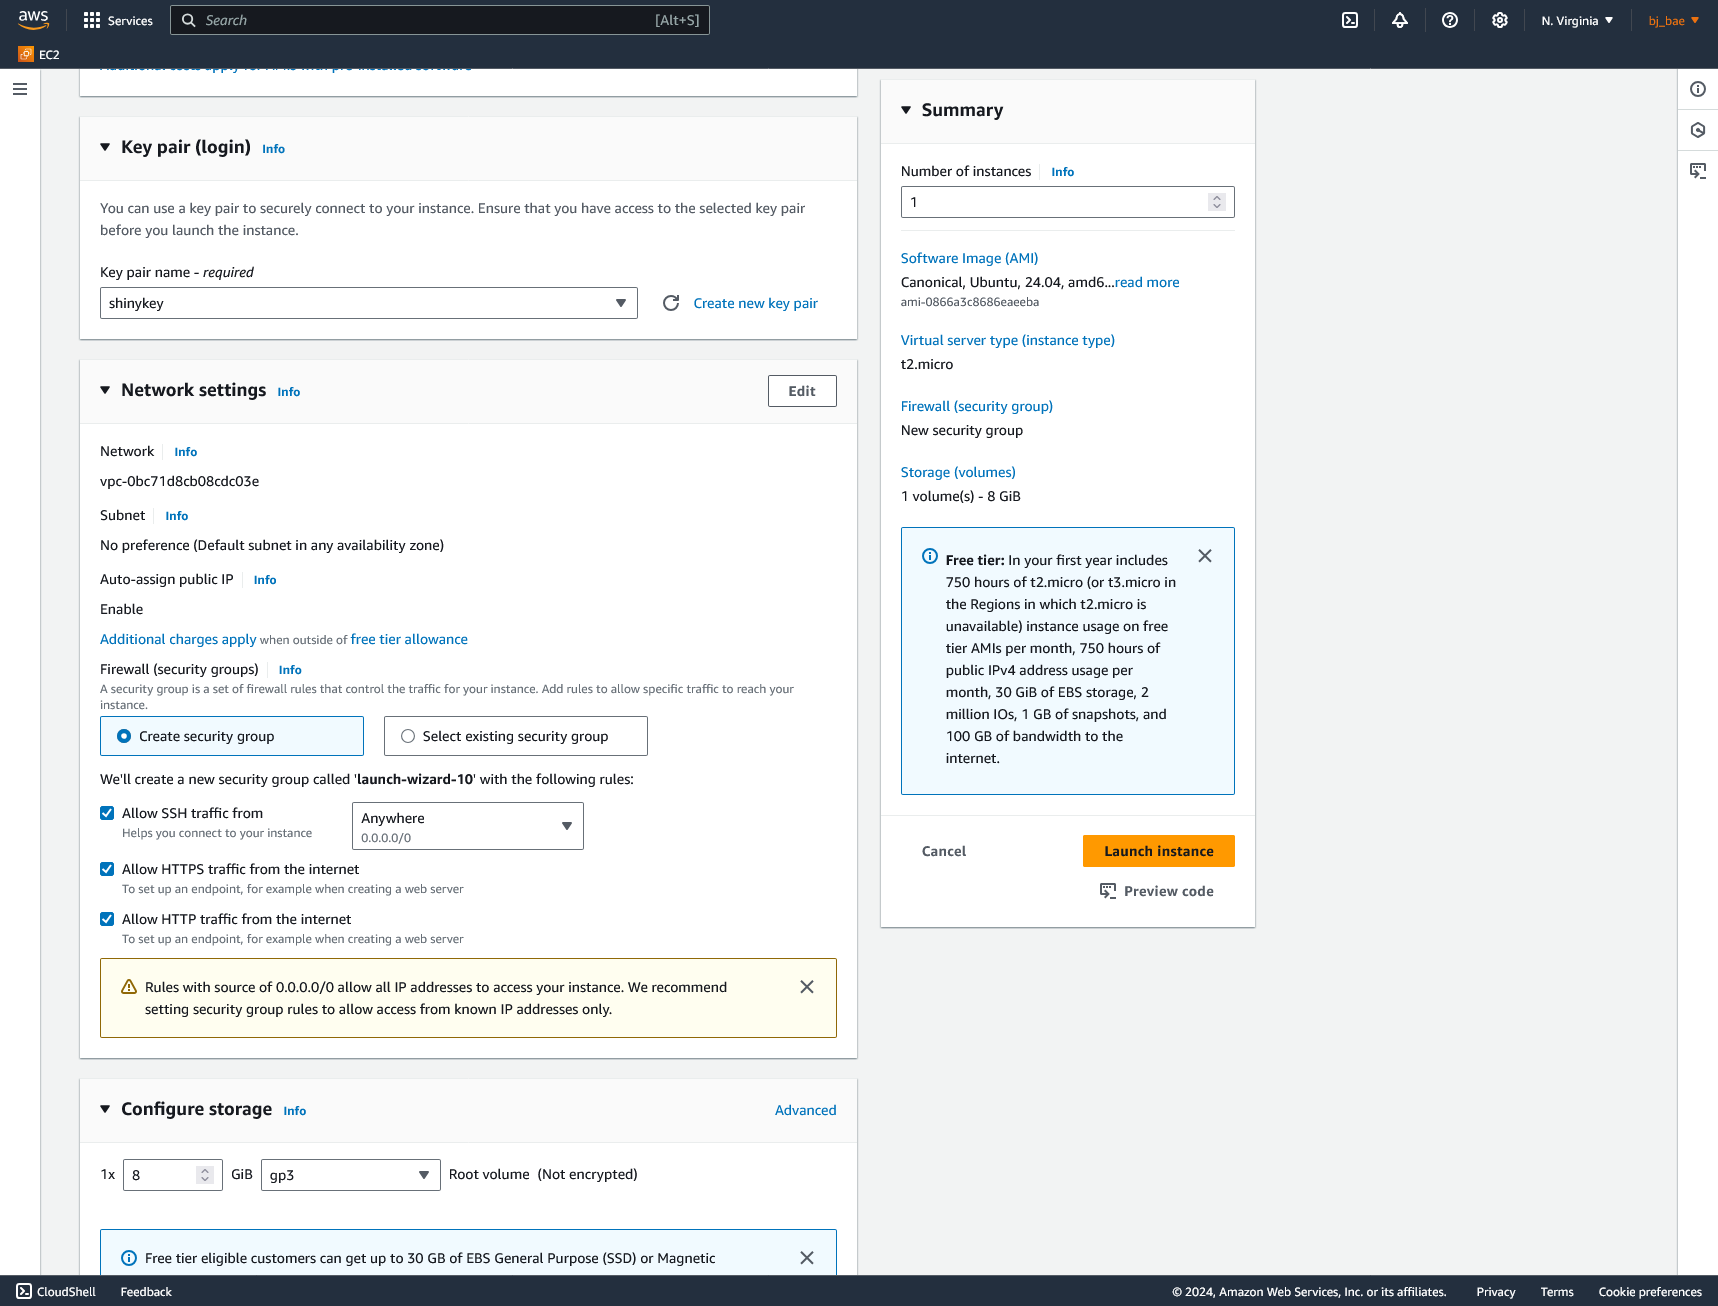
Next, we set up our network settings. This part is crucial to exposing the right ports to our server to the internet.
There are two options here depending on how far you want to go with your deployment.
Option 1) If you aren’t sure how to set up reverse proxies, like nginx and SSL certs and just want to get the app running, check the box that says Allow HTTP traffic from the internet to open up port 80.
Some web browsers will default to HTTPS and will block HTTP websites. You will get an ugly “Secure Site Not Availible” Warning if you do not set up SSL certs. While this does not ruin the functionality of the app, if you want to follow the recommended step and set up HTTPS with SSL certificates, follow option 2 below.
Option 2) If you intend to set up both a reverse proxy and SSL certificates, which is highly encouraged when setting up a reverse proxy, check the box that says Allow HTTPS traffic from the internet. This opens up port 443 for HTTPS connections.
Now, there are additional configurations to the network we need to make. Click on Edit at the top right corner next to the title Network settings and you will see the expanded menu.
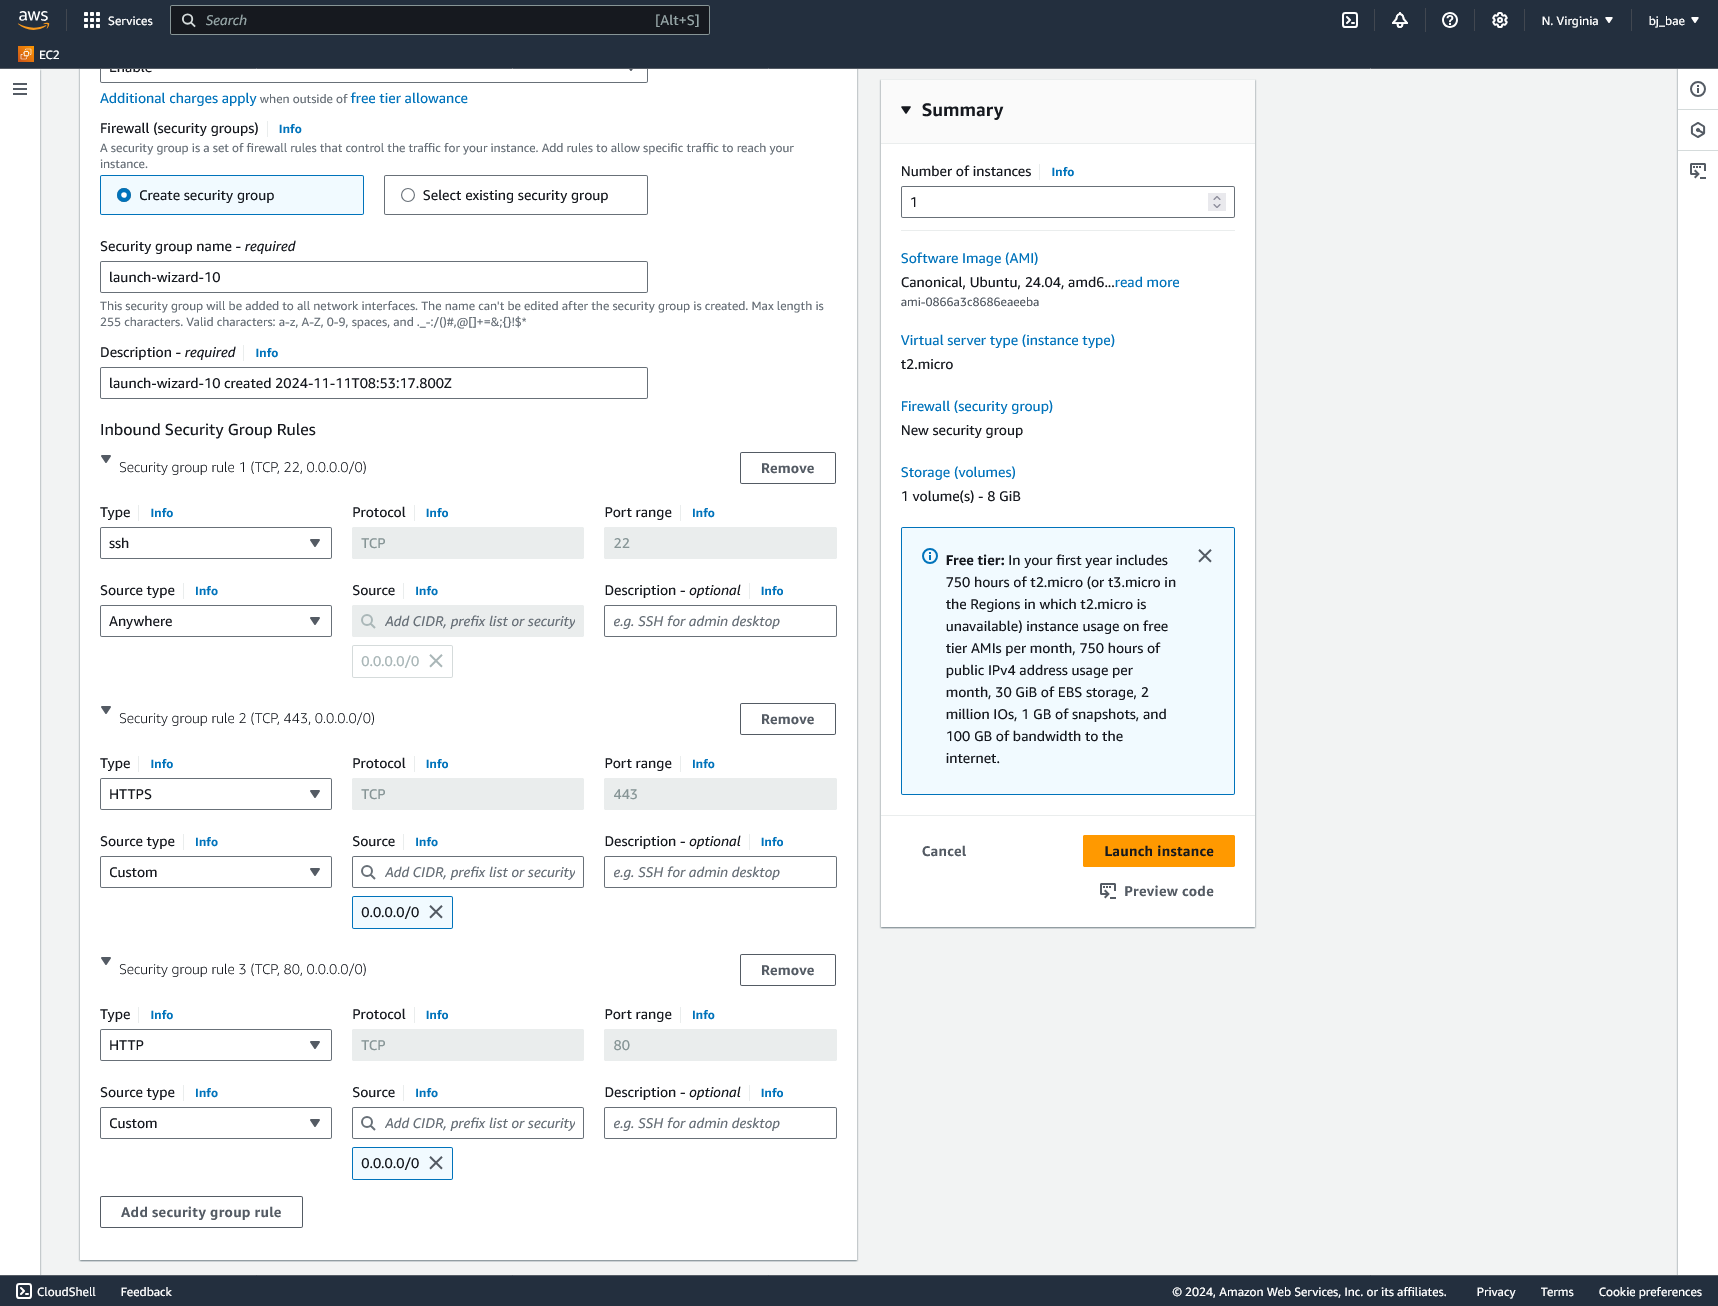
Scroll down a bit to the button that says Add security group rule at the bottom of Inbound Security Group Rules
Click Add security group rule
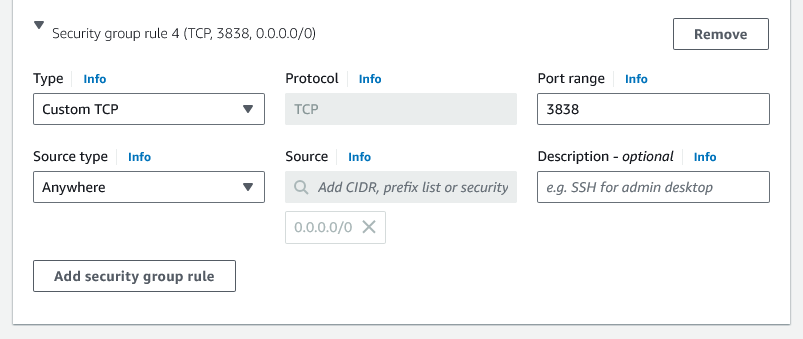
We want to set a rule that exposes port 3838 that is used by the Shiny Server. To do this we select Custom TCP as the type, Anywhere as the source type and add 3838 to the Port range.
After this is done, we are basically done with setting up our server.
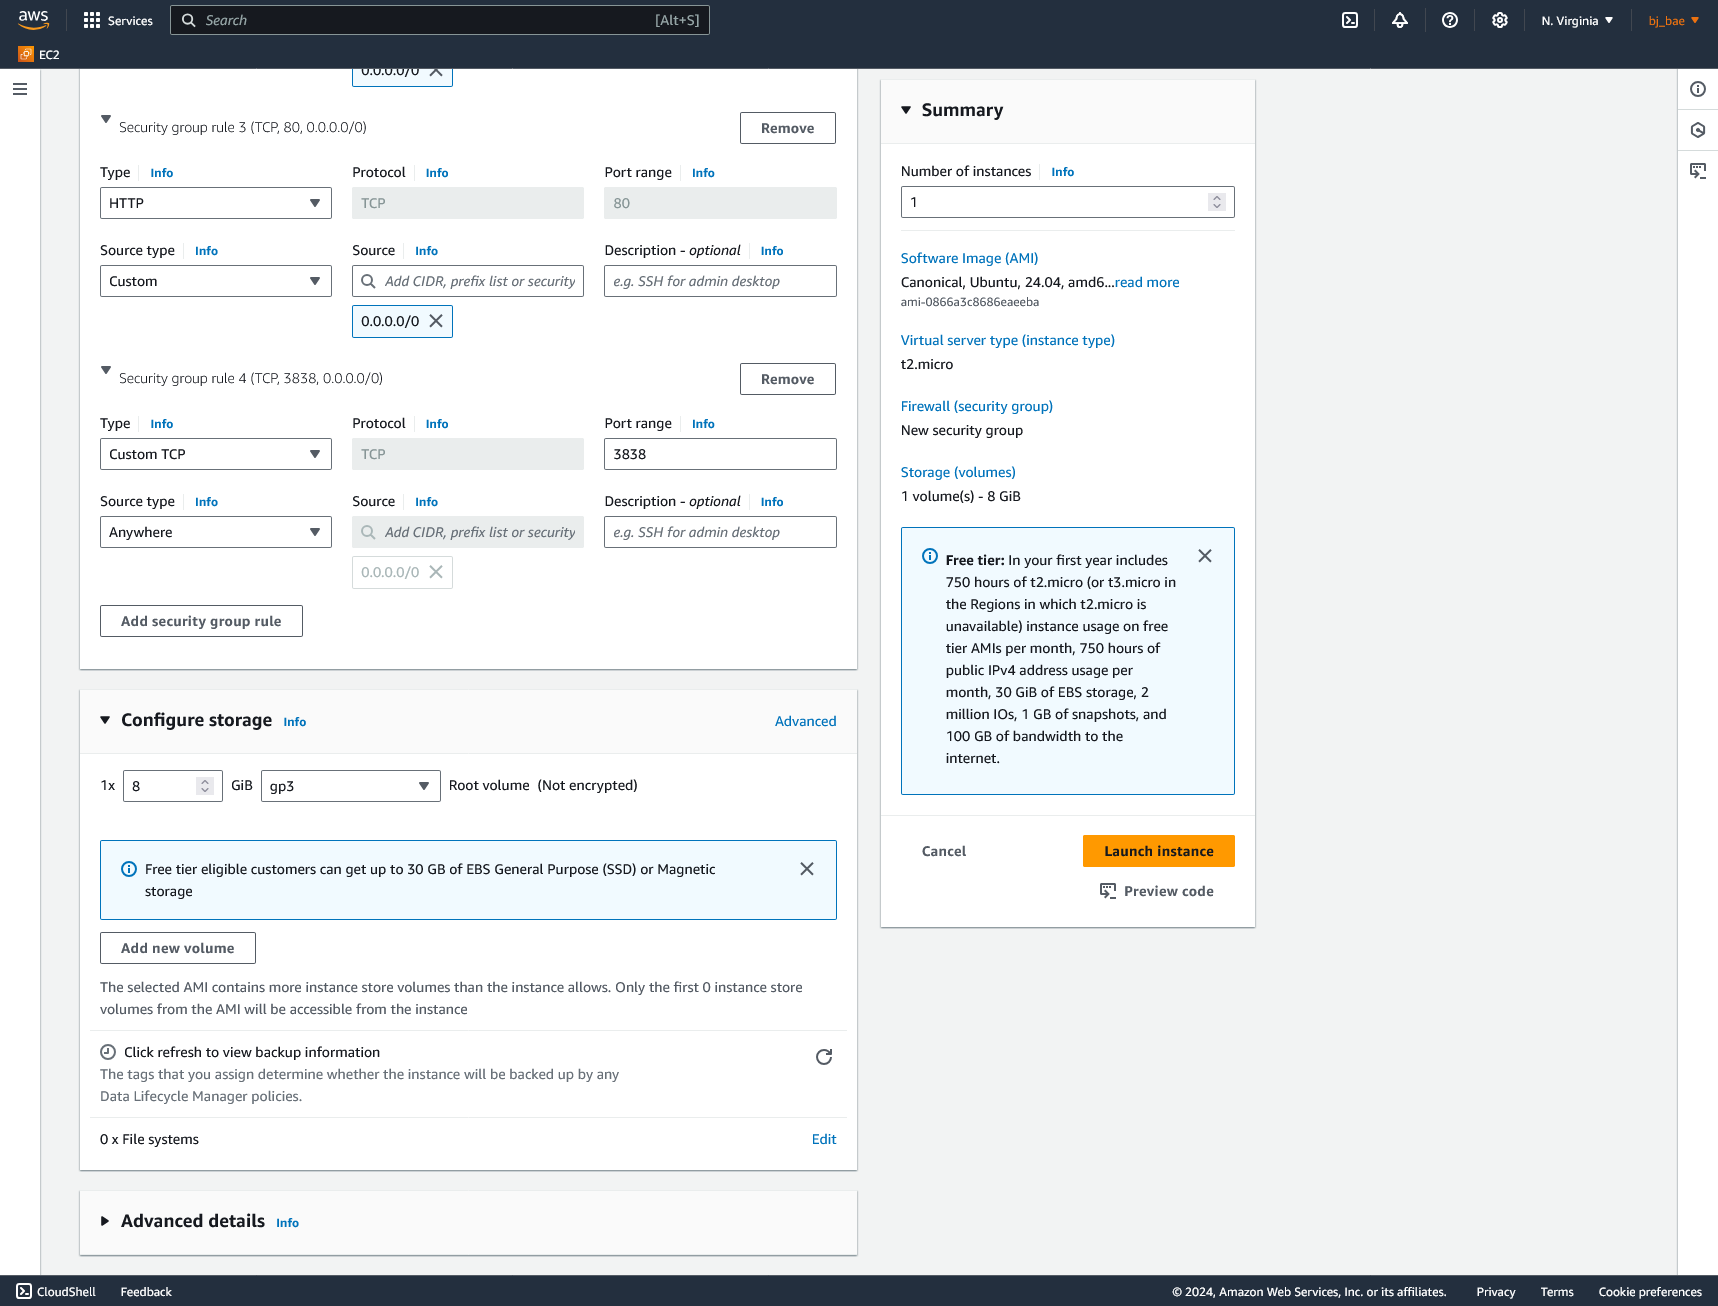
EC2 will ask us to configure our storage volumes, but we will leave it as the default option. Unless you specifically know that you will need more storage due to model/project size, 8 GiB should be fine.
Click the orange Launch instance button on the right, and your EC2 instance should spin up.
Go back to your EC2 dashboard by expanding the left sidebar and clicking Dashboard at the top.
Look under the Resources section and click Instances (running) to see your new instance.
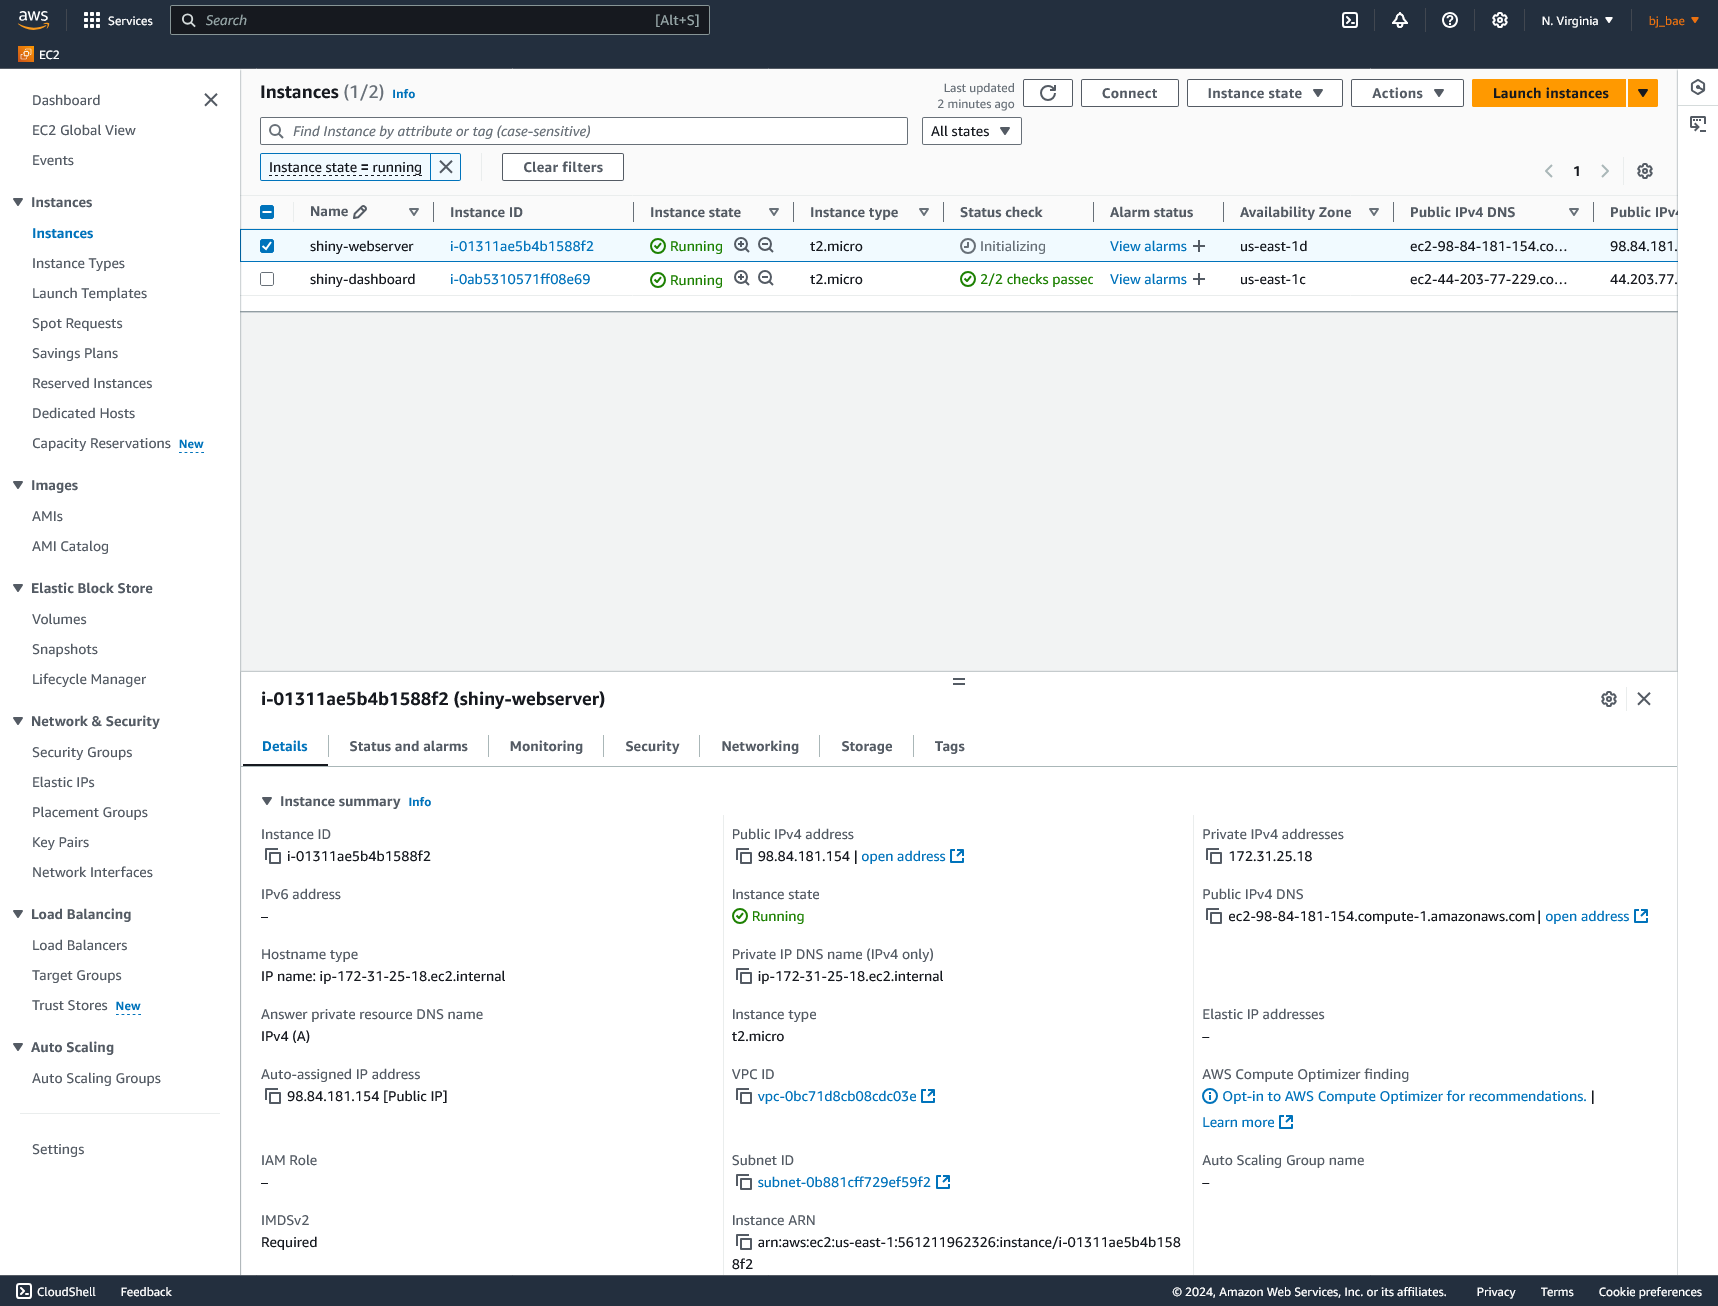 There appears to be two running instances in this image but this was just one that was running from before on my account
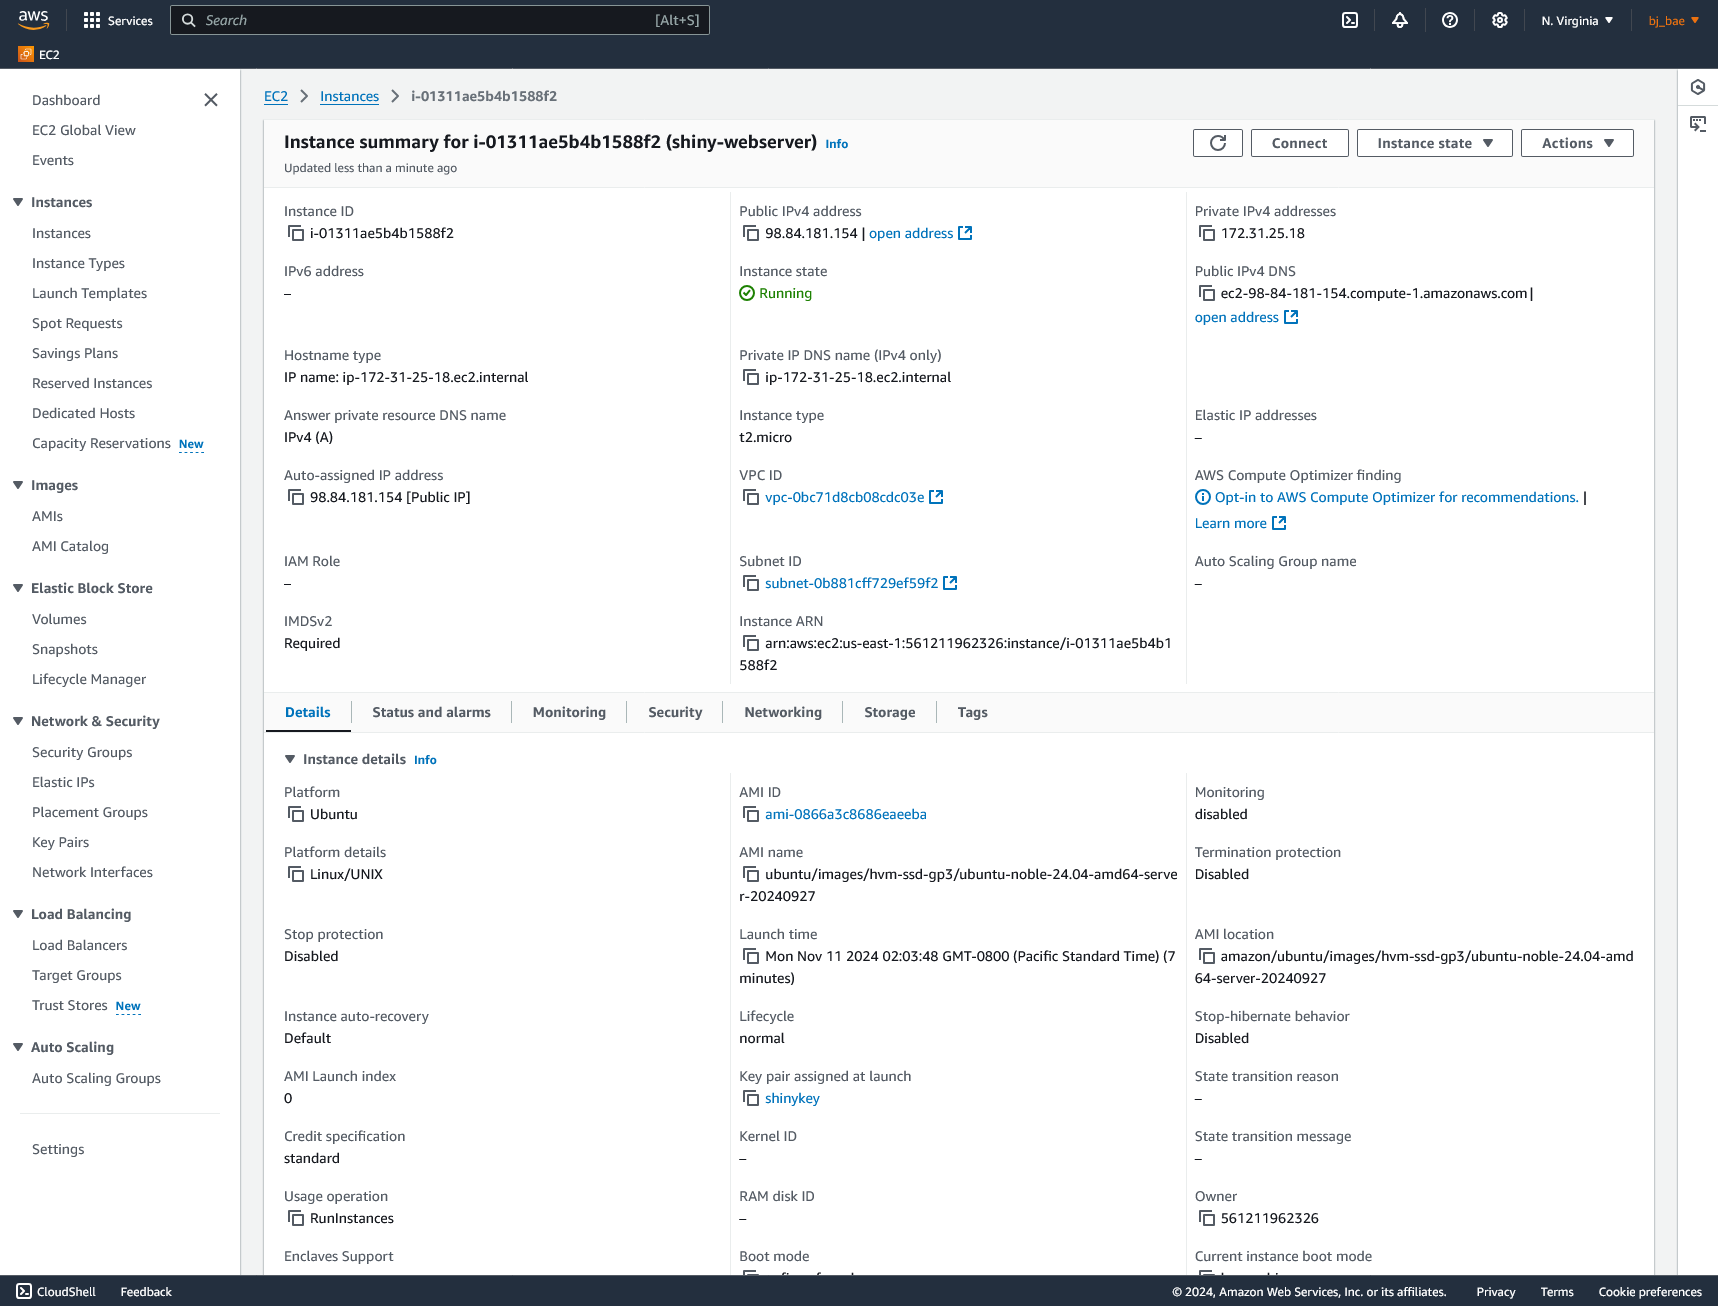
Click on the instance ID of your shiny-webserver to open up more information on your instance.
Connect to EC2 Instance
To connect to this webserver we can click the white box that says Connect on the top right of the page.
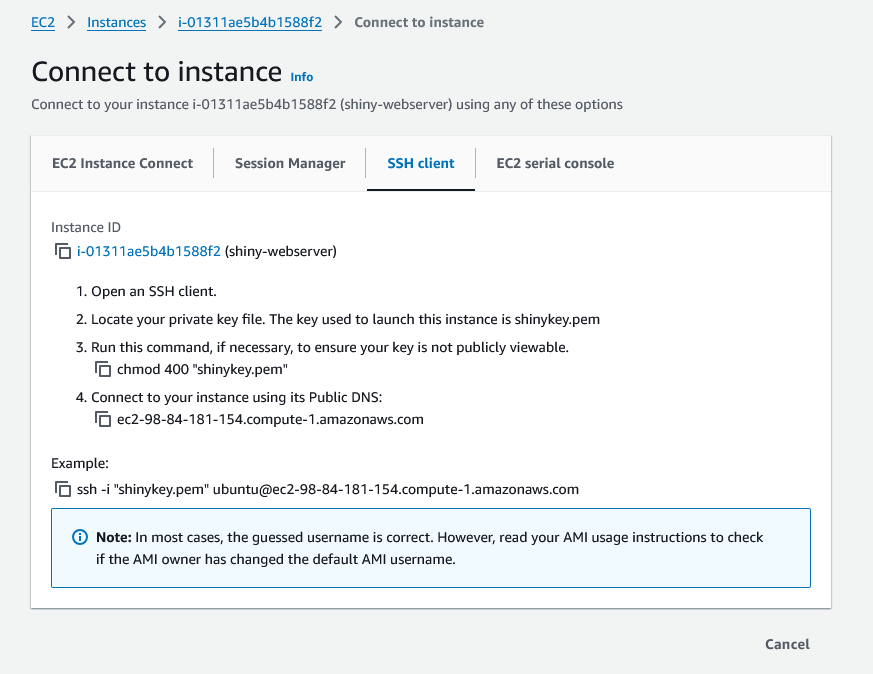
Here it tells you the steps to connect to the EC2 instance through SSH.
Make sure you have OpenSSH installed (it should come as default in most systems including Windows)
Follow the steps given above and SSH into your ec2 instance.
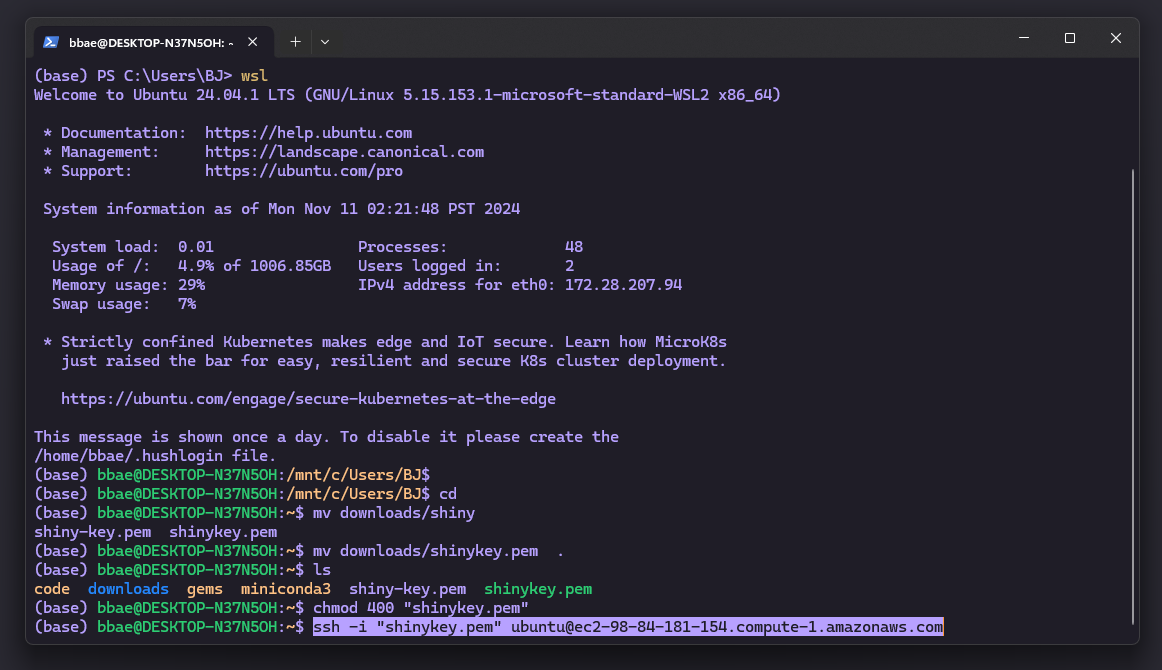 Example commands of how to run in modified wsl environment

Be sure to say yes to the the fingerprinting so that the instance can add you to a list of known hosts.
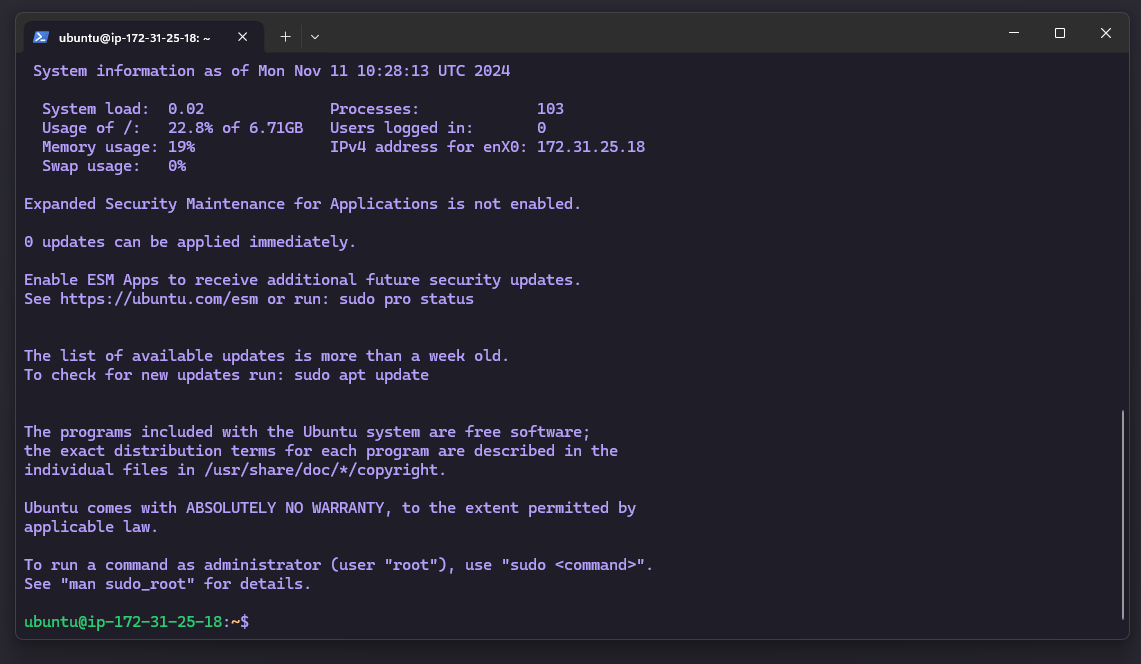
Now we are successfully SSH’d into our EC2 instance!
Environment Setup
First, we will update our linux host by running:
1
sudo apt update && sudo apt upgrade
Set up Shiny Server
We will install Shiny Server from the instructions here
- Select Ubuntu as your server version
- If you are running only Shiny for Python apps, you can skip installing the Shiny R package (as referenced here)
- Install Shiny Server by running the following commands.
1
2
3
4
5
6
7
   sudo apt-get install gdebi-core

   wget https://download3.rstudio.org/ubuntu-18.04/x86_64/shiny-server-1.5.22.1017-amd64.deb

   sudo gdebi shiny-server-1.5.22.1017-amd64.deb

   sudo systemctl enable shiny-server
sudo systemctl enable shiny-server makes sure that Shiny Server automatically runs at boot time when the instance restarts.
Verify that the app is running by going to your to your instance’s Public IPv4 Address or Public IPv4 DNS appended by :3838 on your browser.
The Public IPv4 Address or Public IPv4 DNS can be found in the instance summary of your instance.
For example: http://98.84.181.154:3838 or http://ec2-98-84-181-154.compute-1.amazonaws.com:3838
Note that the URLs use http and not https. If you do not include this part, there is a high chance that the website will not connect, so make sure your URL are in the form
http://<Insert your Public IPv4 Address/DNS Here>:3838
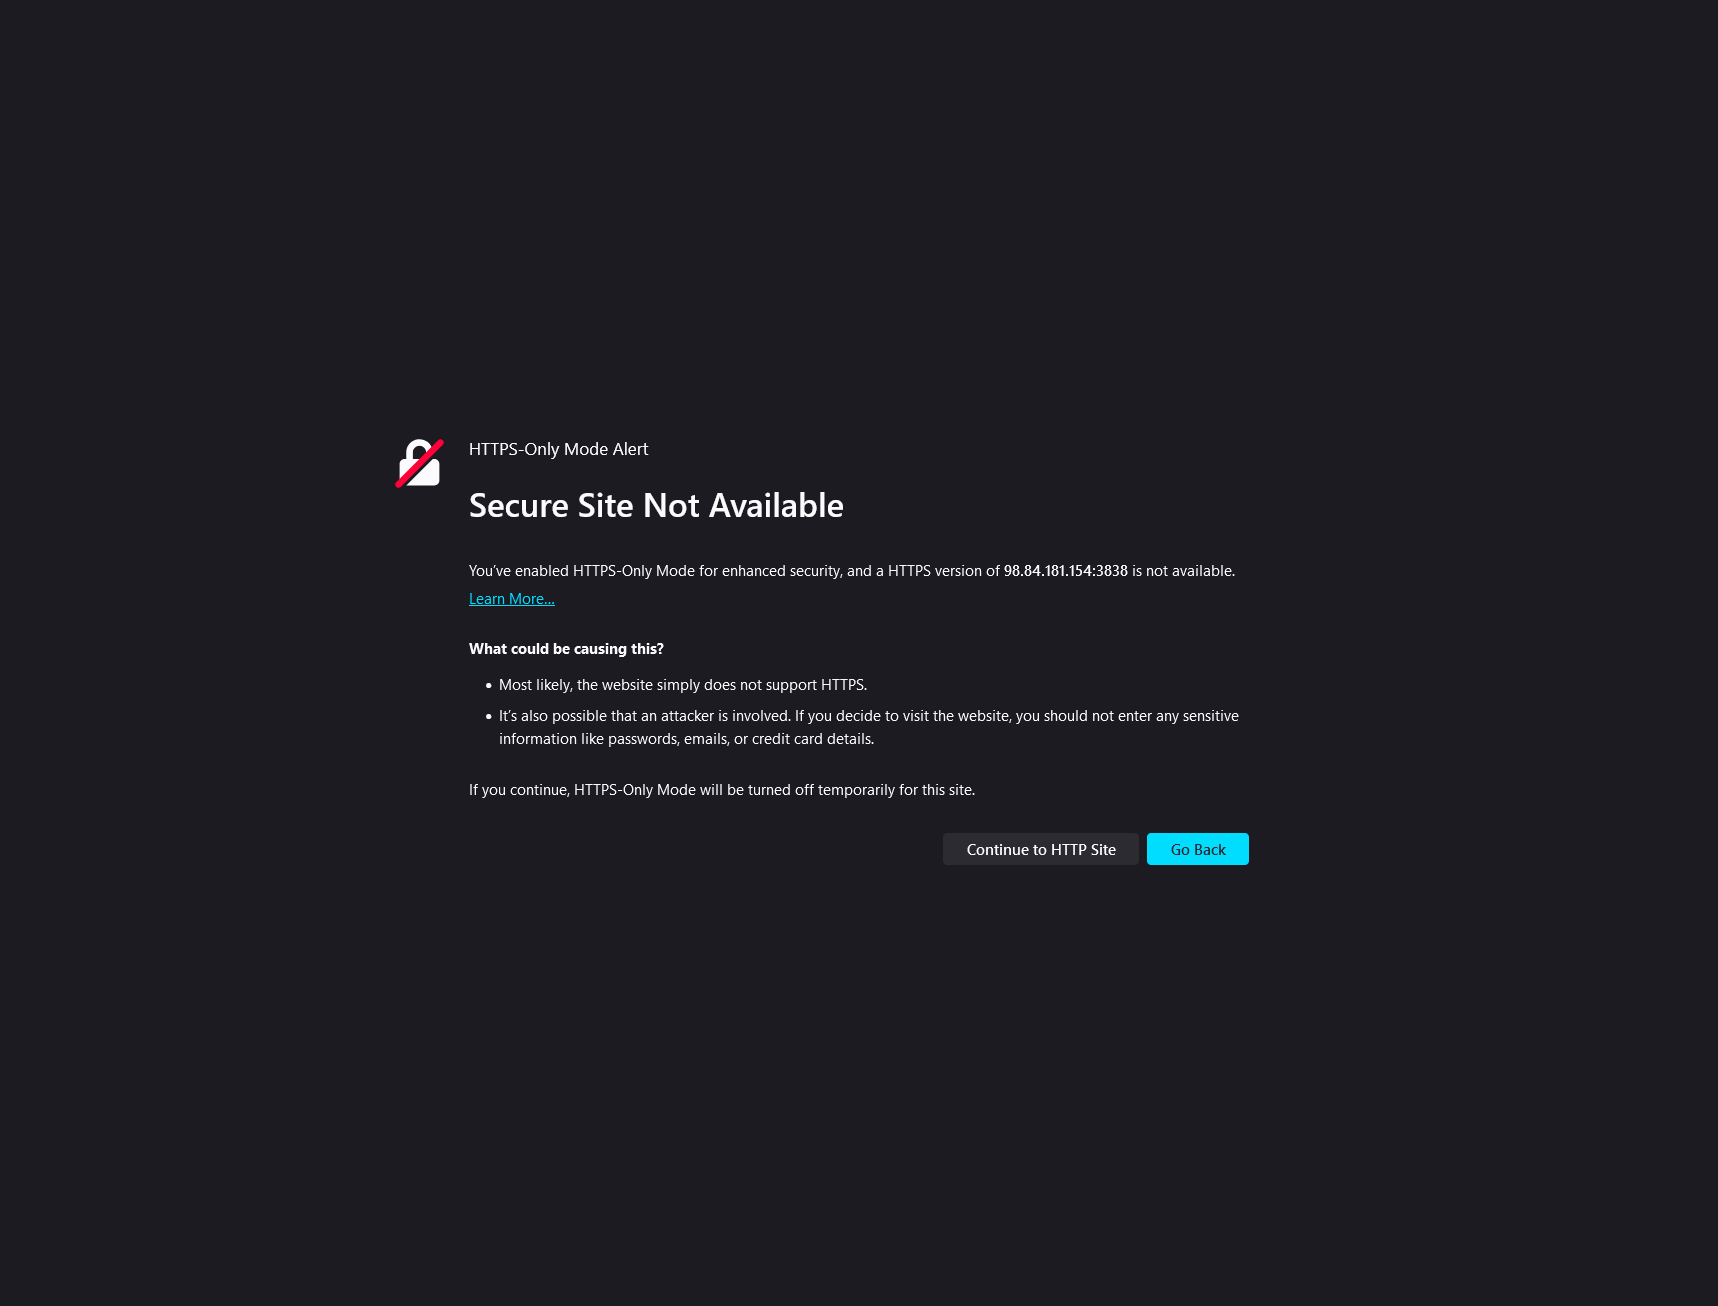
If you encounter a page like this, click Continue to HTTP Site
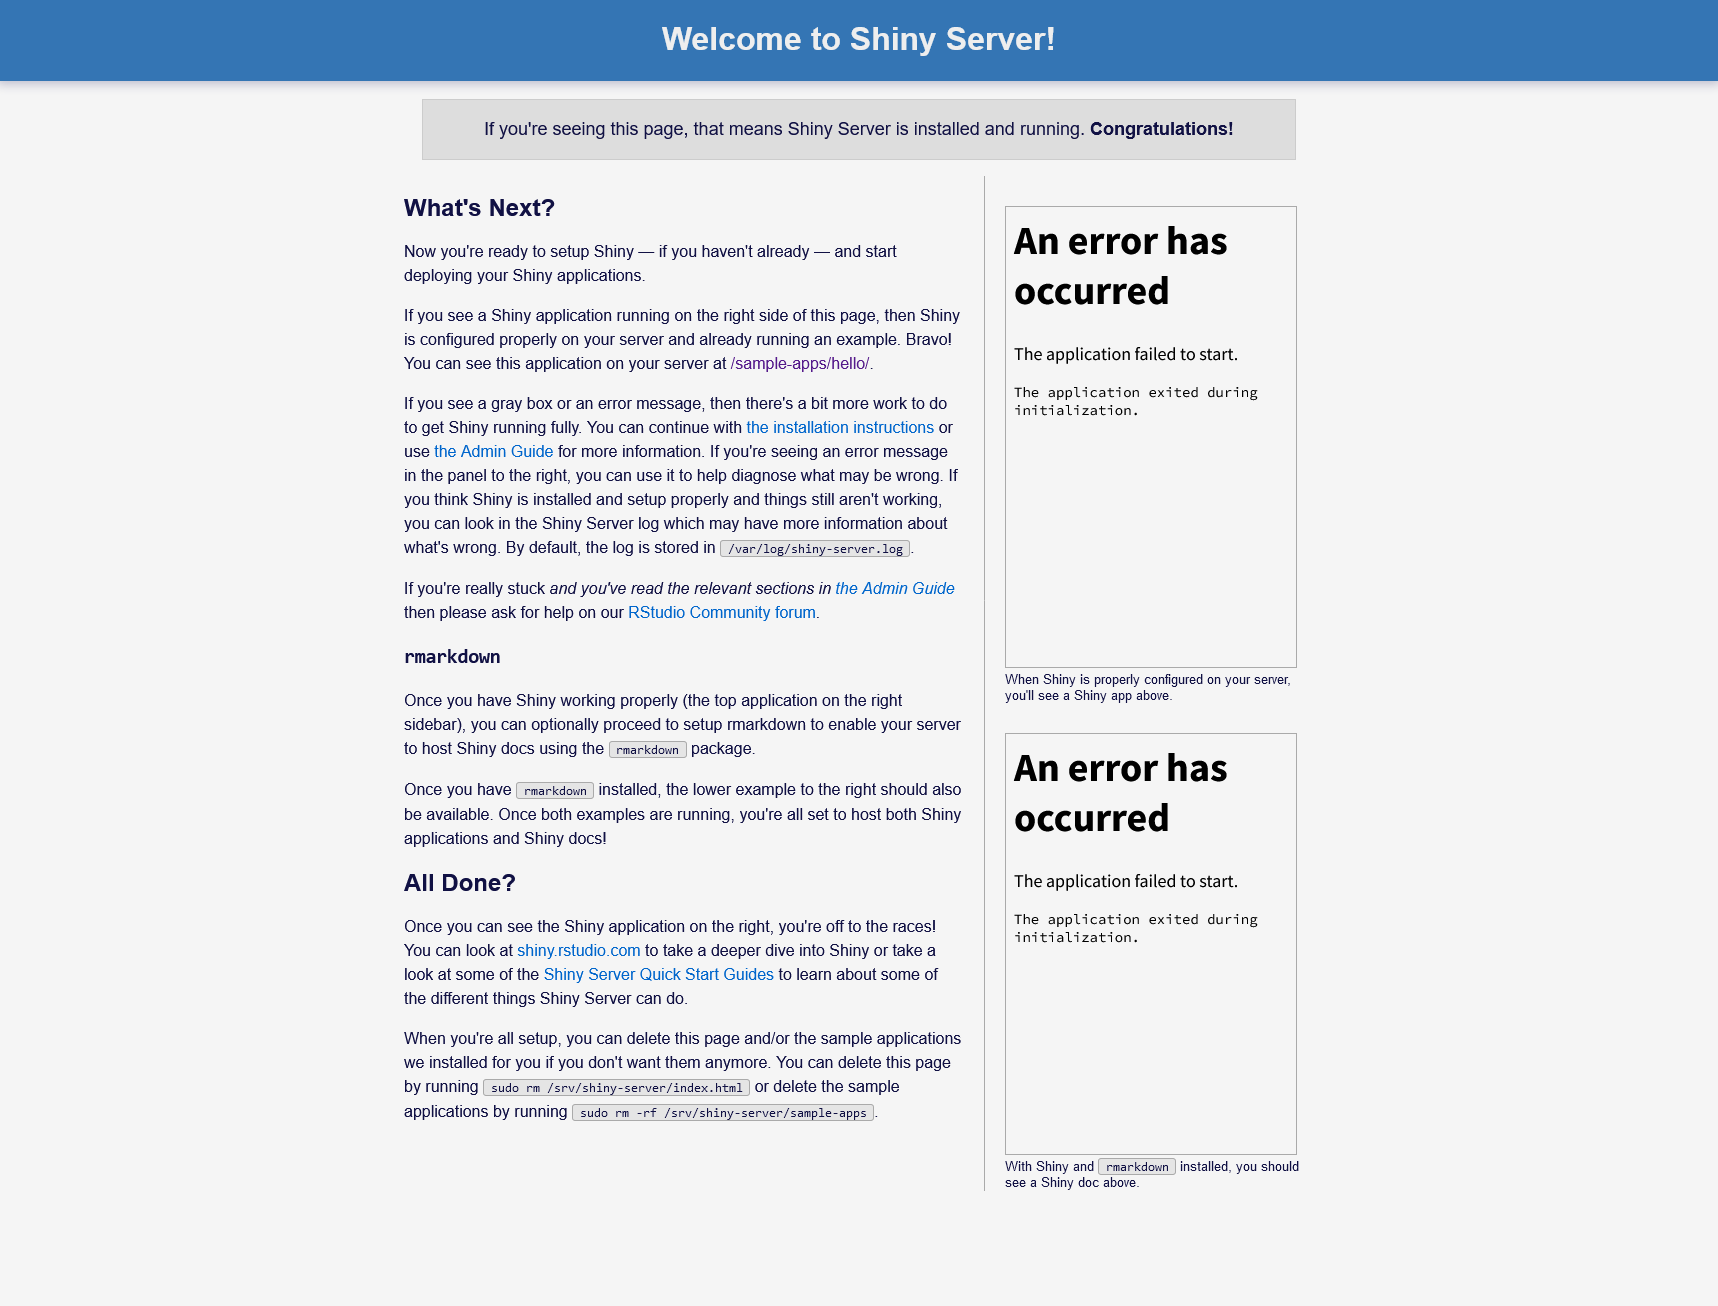
You should be able to see that page for Shiny Server appears. If you see errors in the right column, you can safely ignore it.
Troubleshooting
If you don’t see any website, first make sure the URL is correct, then check if the Shiny Server is running correctly by running:
1
2
sudo systemctl restart shiny-server
sudo systemctl status shiny-server
If it is not active, check your config file exists at /etc/shiny-server/shiny-server.conf . If not, follow the instructions to set up the Default Configuration here, but change run_as shiny; to run_as ubuntu and then run
1
sudo systemctl restart shiny-server
Setup Shiny App
Now we will be setting up our shiny app in this environment.
First, make sure that git is install in the system
1
sudo apt install git
Next, we make sure that python3, pip, vnev (for python virtual environment) is installed in the system.
1
2
3
4
5
sudo apt install python3

sudo apt install python3-pip

sudo apt install python3-venv
Since now we have our necessary packages installed, clone your remote Git repository where your shiny app resides onto the local system.
1
git clone <repository name>.git
When you ls you should see only 2 directories, your repository and the shiny server debian package (which you can ignore).
Example directory structure in /home/ubuntu:
1
2
3
4
5
6
7
8
9
10
11
12
13
.
├── home-valuations-ML-deployment (my git repository)
│   ├── ...
│   ├── models
│   │   ├── avm_model.json
│   │   └── avm_model_features.json
│   └── shiny-dashboard
│       ├── __pycache__
│       ├── app.py
│       ├── ...
│       ├── requirements.txt
│       └── shared.py
└── shiny-server-1.5.22.1017-amd64.deb
Setup Python Virtual Environment
We need to set up python virtual environment for our shiny app.py to run in.
To set that up, we will add it into the same directory as our shiny app.
Note that the location of the virtual environment does not matter, so feel free to install it where it is comfortable for you. We only have to remember where we put it so that we can link our python interpreter to the Shiny Server.
After cd ing into our shiny-dashboard directory, to create our python virtual environment, we run:
1
python3 -m venv shinyvenv
Our directory structure should look like this:
1
2
3
4
5
6
7
8
9
10
11
12
13
14
15
16
17
18
19
20
21
.
├── home-valuations-ML-deployment
│   ├── ...
│   ├── models
│   │   ├── avm_model.json
│   │   └── avm_model_features.json
│   └── shiny-dashboard
│       ├── __pycache__
│       │   ├── ...
│       │   └── shared.cpython-313.pyc
│       ├── app.py
│       ├── ...
│       ├── requirements.txt
│       ├── shared.py
│       └── shinyvenv
│           ├── bin
│           ├── include
│           ├── lib
│           ├── lib64 -> lib
│           └── pyvenv.cfg
└── shiny-server-1.5.22.1017-amd64.deb
To activate this environment we run:
1
source shinyvenv/bin/activate
from the parent directory of our shinyvenv (A.K.A shiny-dashboard)
The environment is activated. You can check by making sure the beginning of the shell prompt has shinyvenv indicated like this: (shinyvenv) ubuntu@ip-172-31-25-18:~/home-valuations-ML-deployment/shiny-dashboard$
Next, you want to install python dependencies for the project.
Here I will use my requirements.txt file that I exported during my local python virtual environment here to install my dependencies. If you do not have this, you will have to manually install all the dependencies using pip.
1
pip install -r requirements.txt
At this point you can try running the shiny app, but you won’t be able to see the dashboard because shiny run’s default port is set to 4000 and 4000 is not exposed on our server.
Q: Why do we even need shiny server if you can just run shiny directly and expose port 4000?
A: The shiny dashboard does not render ui items correctly if you use shiny directly. You will get a bunch of unrendered HTML and need to use shiny server to get full functionality.
“Move” Git Repsitory to default Shiny Server Path
Shiny Server finds shiny applications by default in this location: /srv/shiny-server/
We want to move our repository to that directory, but copying it takes time and storage. We can “move” the location of the repository without actually moving it or copying it by using symbolic links.
Symbolic links are like shortcuts so we can store the shortcut link in the /srv/shiny-server/ path while still having our repository in /home/ubuntu/
To achieve this we use ln -s command like this:
1
sudo ln -s /home/ubuntu/<repository name> /srv/shiny-server/<repository name>
For me it would be:
1
sudo ln -s /home/ubuntu/home-valuations-ML-deployment /srv/shiny-server/home-valuations-ML-deployment
This creates a bridge between /srv/shiny-server/home-valuations-ML-deployment to /home/ubuntu/home-valuations-ML-deployment
Setup Shiny Server Config
We need to set up the configuration on Shiny Server so it uses the python interpreter inside our virtual environment and knows where our shiny app is located. Read more about the config file in section 2 of the Shiny Server Admin Guide.
The default configuration file is found in /etc/shiny-server/shiny-server.conf
To edit this file we will use the command
1
sudo nano /etc/shiny-server/shiny-server.conf
We edit the config file to be:
1
2
3
4
5
6
7
8
9
10
11
12
13
14
15
16
17
18
19
20
21
22
# Instruct Shiny Server to run applications as the user "ubuntu"
run_as ubuntu;

# Define a server that listens on port 80
server {
  listen 80;

  # Define a location at the base URL
  location / {

    python /srv/shiny-server/<enter your repository name here>/<path to your venv directory>;
    # Host the directory of Shiny Apps stored in this directory
    site_dir /srv/shiny-server/<enter your repository name here>/<path to your shiny app directory>;

    # Log all Shiny output to files in this directory
    log_dir /var/log/shiny-server;

    # When a user visits the base URL rather than a particular application,
    # an index of the applications available in this directory will be shown.
    directory_index on;
  }
}
We change the port number to use the standard HTTP port 80. We also set location of the python interpreter path for shiny to the virtual environment python location and set the shiny app directory so that the shiny server can find our app.
Don’t forget any semi-colons at the end of each line
An example of my config file is here:
1
2
3
4
5
6
7
8
9
10
11
12
13
14
15
16
17
18
19
20
21
22
# Instruct Shiny Server to run applications as the user "ubuntu"
run_as ubuntu;

# Define a server that listens on port 80
server {
  listen 80;

  # Define a location at the base URL
  location / {

    python /srv/shiny-server/home-valuations-ML-deployment/shiny-dashboard/shinyvenv;
    # Host the directory of Shiny Apps stored in this directory
    site_dir /srv/shiny-server/home-valuations-ML-deployment/shiny-dashboard;

    # Log all Shiny output to files in this directory
    log_dir /var/log/shiny-server;

    # When a user visits the base URL rather than a particular application,
    # an index of the applications available in this directory will be shown.
    directory_index on;
  }
}
Restart the Shiny Server for the config file to take effect.
1
sudo systemctl restart shiny-server
Check if the Shiny Server has restarted correctly.
1
sudo systemctl status shiny-server
If everything looks good, check your URL to see if your shiny dashboard is up. The URL is slightly different this time from the previous time we opened the webpage. This time it is http://<Insert your Public IPv4 Address/DNS Here> without the :3838
Example: http://98.84.181.154 or http://ec2-98-84-181-154.compute-1.amazonaws.com
If this doesn’t work try it with :80 appended to your URL
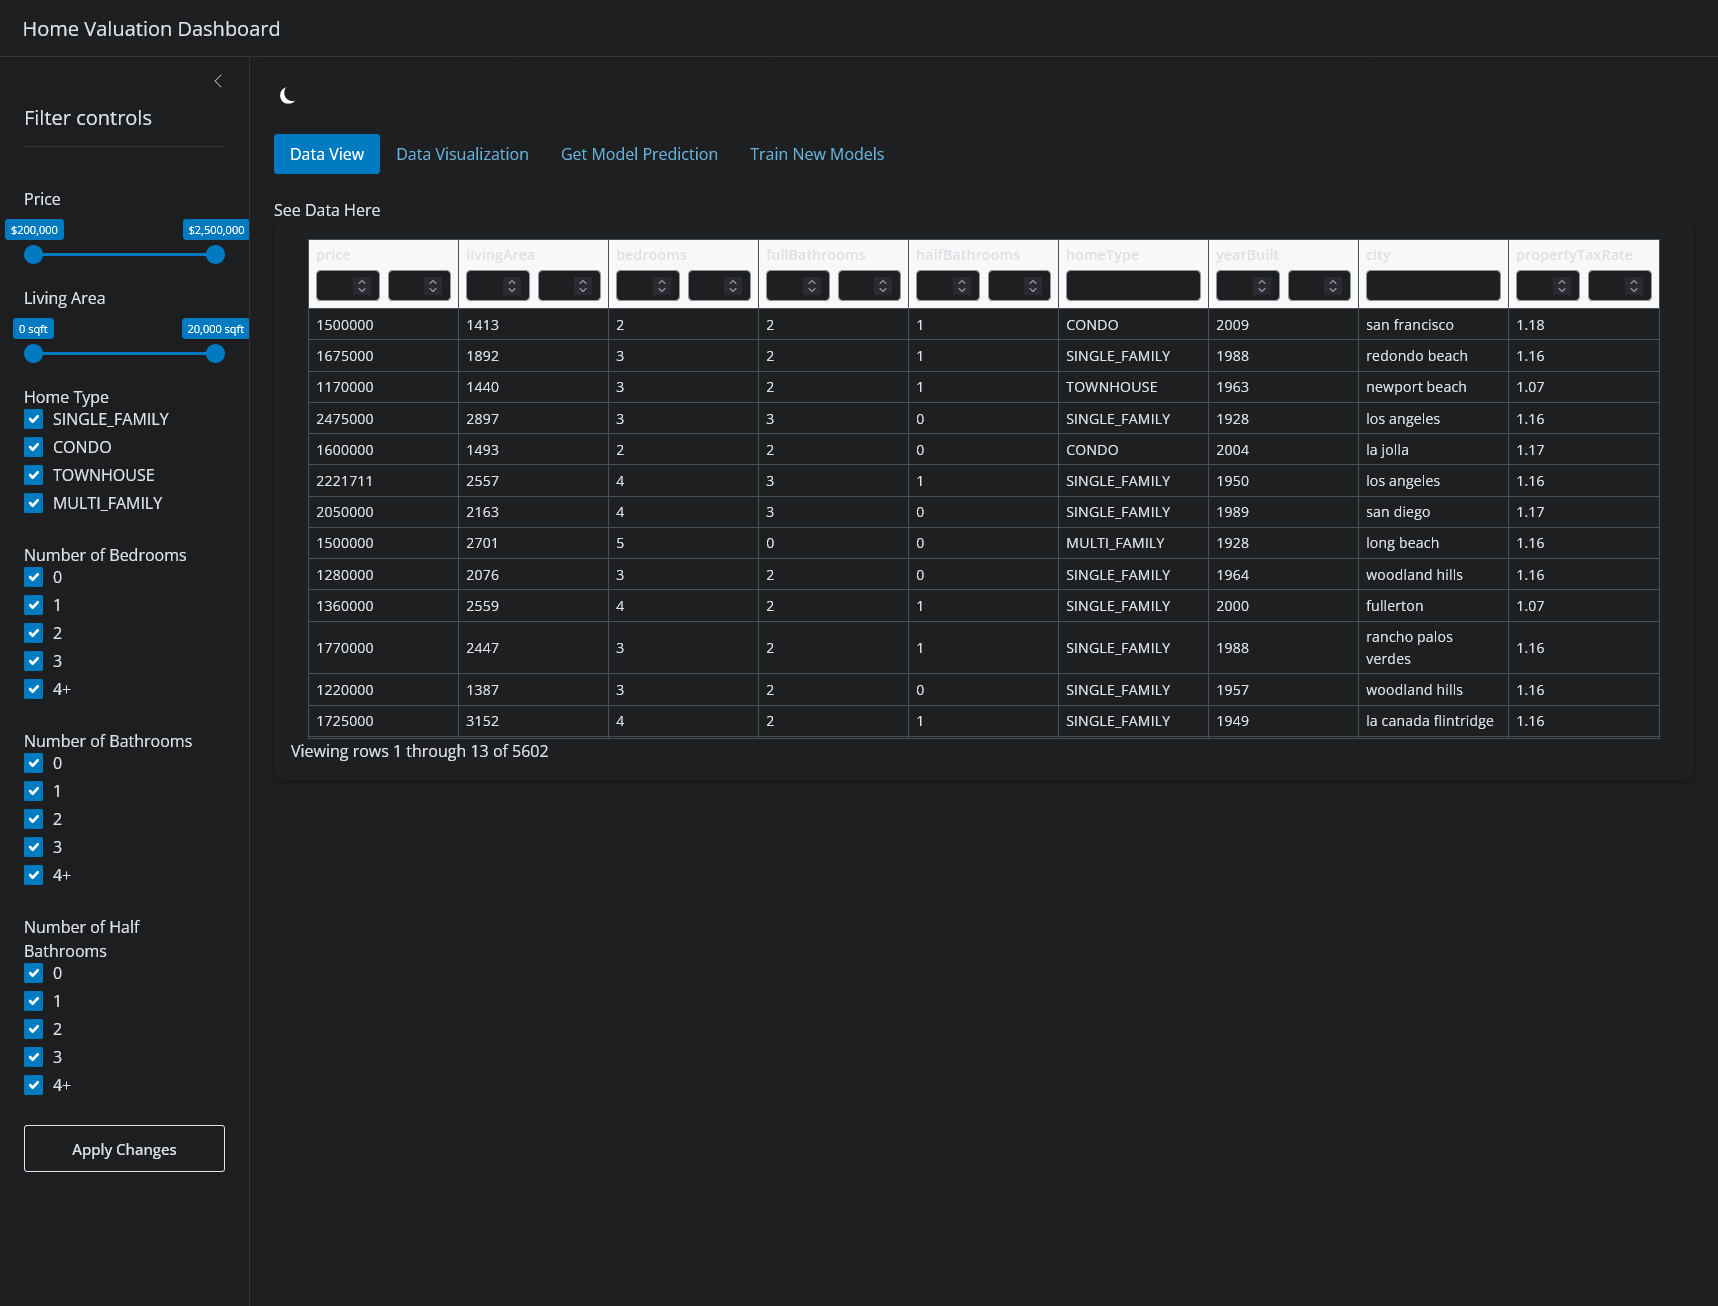
You should see your Shiny dashboard!
Setup Reverse Proxy with Nginx
WORK IN PROGRESS
Set up SSL Certificate and Renewal
Instruction Here using Certbot
1
sudo certbot --nginx
to setup both certbot and nginx